It is the penultimate quest given during the Thieves Guild questline. It is also the quest during which the Skeleton Key is received.
Background
Objectives
- Travel to Irkngthand
- Speak to Karliah
- Locate Mercer Frey
- Slay Mercer Frey
- Retrieve the Skeleton Key
- Escape from Irkngthand
- Speak to Karliah
Walkthrough
Travel to Irkngthand
Upon arriving at Irkngthand, be wary of bandits who have set up camp here. It will be necessary to fight a way up to the top to gain entry to Irkngthand. Note: If this quest has not been started, full entry to this dungeon cannot be attained. (Dungeon Lock Outs) Also, any follower with the Dragonborn cannot enter the ruins whilst this quest is active; they will be waiting for the Dragonborn in Bronze Water Cave.
Speak to Karliah
Once inside, go across the hall, grab the loot in the chest by the fire and bodies. To the left and right of the fire are two dwemer chests also, one adept and the other master locks. Then continue on up the stairs. Make a right, then move forward, down the hallway. Go past the water and through the gates into the next hall. To the right at the end of the ledge is an unlocked chest, another down near the patrolling sphere. There is a Dwarven Sphere patrolling at the bottom of the stairs. If detected, more will come out the holes in the walls, so dispatch them as quietly as possible. (One way is to use a sneak bow attack and take them out one by one.) It is also possible to sneak past the spheres without being noticed. Go to the left of the gate and jump over the fence. Go into stealth and sneak past the one sphere that deployed. In the next room, rotating flame towers will activate. Move around these without making too much noise. The towers are slow enough to sneak through them if timed well. At the final flame tower, go around it to the left and then open the gate to the right of it. Move up the stairs until the master locked gate is reached. In front of the Dragonborn there will be a ramp with a Dwarven Spider on top. Kill it and hop over the rubble pile to find a hidden chest. Opposite the master locked gate is a lever. Pull it, and it will open a new area where Karliah and Brynjolf are waiting. Speak to Karliah, and she will explain about traps that Mercer may have left.
Locate Mercer Frey
There will be a trap trigger on the bottom left of the doors in front. Disarm the trap, or open the doors and watch for the flying mace ball trap. On the little table is a bottle of Black-Briar Reserve (presumably a calling card from Mercer Frey), and three lockpicks. Turn left and head down the stairs, watching for the expert locked gate full of loot to the left. Karliah will spot Mercer and a short scene will take place. Afterward, follow the path round and open the door. Head down until the next hall is reached.
Upon entering the next hall, turn right and collect the Falmer chest on the right side next to the Falmer hut. Then turn around and head over a small mound to find the lever for the gate below. There is a second lever on the right side, across the large set of facing stairs that must be activated quickly after the first or it will reset and the door will not open. Once the door is open, head down the stairs, watching for the spinning blades in the ground, and head through the door. Move through the large area, killing the small groups of enemies. Once at the other end, a collapsed tower can be seen, and it is necessary to go up the spiral ramp and through the door at the top. Before leaving this room make sure to stop and collect the goodies that are left in the Falmer chest. The chest is located next to a Falmer tent to the left on the way to the ramp out.
Go down the stairs, carefully avoiding the bear traps. Grab the two Detect Life scrolls in the room to the right, as they can be handy later. In the room with the Detect Life scrolls, there is writing on the walls from Mercer Frey that says, "One Step Ahead - Mercer." The writing is backwards. There is a third Detect Life scroll behind the desk in the main room. Go through the gate to the left (watch out for more bear traps), then through the door at the end of the corridor, which leads to a large hall. Brynjolf will explain that the options are to either sneak around or take on the Dwarven Centurion. Which Centurion the player will face is decided by the player character's level: 10-15 will face a regular Centurion, levels 20-30 will most likely be a Centurion Guardian, and levels 45+ will face a Centurion Master. Since there are a lot of Falmer in this room, it is possible to jump off the little bridge to the right, and on the left there will be a button that activates the Centurion. This will soften up the Falmer, and they should kill the Centurion.
Regardless of the choice, continue to the cage, and then head up the stairs. There should be a path that leads up and around to the next destination. Watch for the Falmer traps. After the bear traps, there should be some Frostbite Spiders and Falmer across the hall. Once they have been dispatched, collect the loot in the chest next to the Falmer tent at the bottom of the stairs and head through the door leading to the Irkngthand Slave Pens. Go down the stairs and quickly kill the Dwarven Spider, then head left and continue down the stairs. Activate the lever and a spinning blade will take out the two Falmer down below, but remember to turn it off before continuing. Run down the hall, but be careful of the three flame pressure plates near the corner.
Once in the next hall, Karliah will say that there are a lot of Falmer in the next room, and will give the option to either sneak or take them on. If it seems easier to sneak past, simply follow the far right-hand side wall and follow it all the way around, into the pen with a small cave at the rear. There is a chest next to the first fire pit in a Falmer tent and another one in a tent directly across from the first. After the cave, the party will be in a larger cave, with two leveled Falmer in front. Continue down the ramp, and there will be several Chaurus, along with another Falmer. If the Sneak skill is high enough, it is possible to bypass the Chaurus and Falmer by sneaking along the golden pipes above their heads. Continue through the rear of the cave onto a downward hill, making sure to kill the Falmer before dropping down. Head through the gate, then down into Irkngthand Sanctuary. Note: there are a number of quest-breaking glitches in the next stage, so be careful to create a save before entering the door.
Slaying Mercer Frey
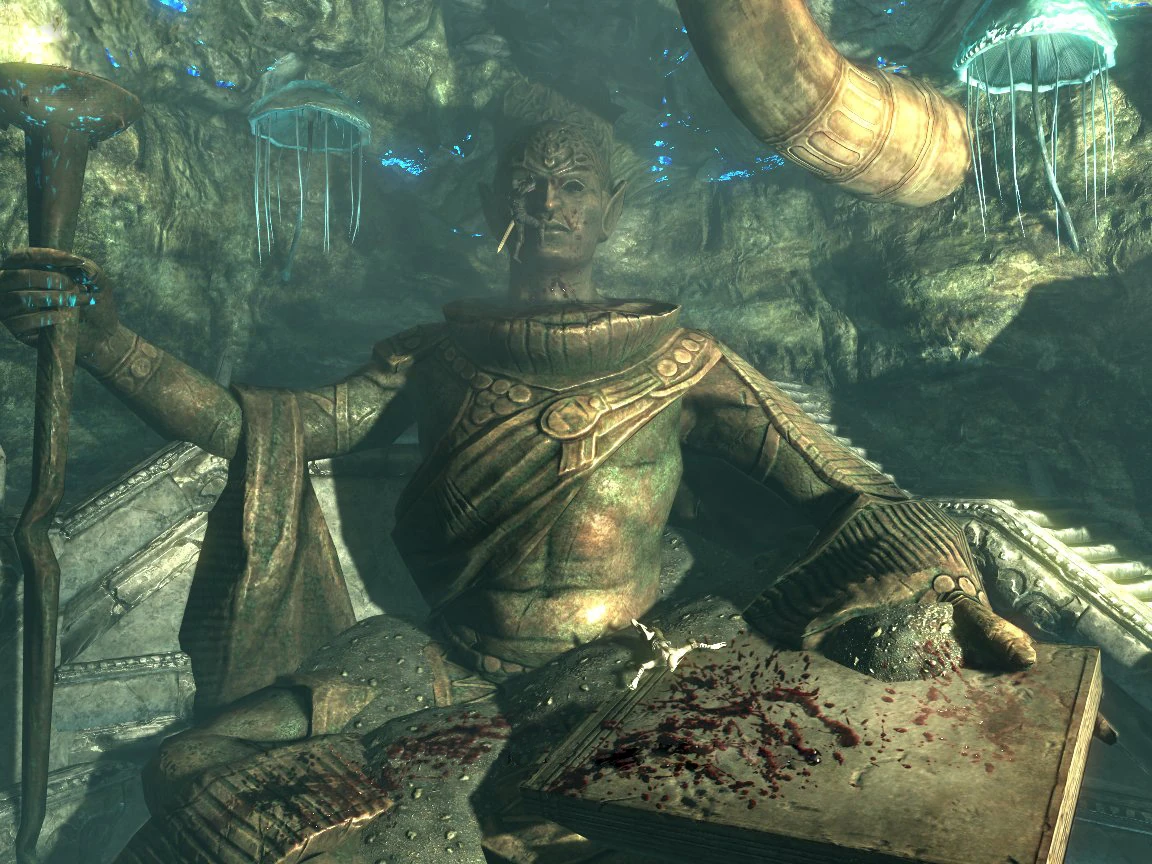
Mercer Frey prying off the eyes in the statue
Mercer will be removing the eyes of the statue as the party enters. He spots the group and makes the part of the ledge the player is standing on collapse. Before the battle begins, he will converse shortly with the player about the Thieves Guild and honor before engaging in combat.
Mercer will use a Frenzy-type spell on Brynjolf, making him attack Karliah, so they will not be able to help with the fight; they will be busy with each other. Mercer uses an invisibility spell, so use the Detect Life scrolls, or, if the scrolls were not taken, the Detect Life spell, the Aura Whisper shout, or, if a Werewolf, the Scent of Blood power to reveal him and attack. Mercer likes to hit-and-run; he will turn invisible, sprint up to one of two high points in the room; by the statue's head, or a high spot on the other side of the cavern, behind a pillar. After hiding for a couple seconds, he will spring toward the player and do one or two power attacks before turning invisible again and retreating. Note that Mercer carries lots of healing, stamina and magicka potions, which he will most likely use during the fight. If in Werewolf form, moving forward while doing a power attack will knock him off his feet, leaving him defenseless. For a mage, conjuring an Atronach will help, especially a Storm Atronach to drain his magicka, as an Atronach can still "see" him when he is invisible. If an archer, the Archery perk, Power Shot, can knock him off balance, preventing him from approaching the player as easily. Another way to defeat Mercer is using Windshear, found during the Dark Brotherhood quest, "Hail Sithis!" When Mercer casts Invisibility, he will still be under Windshear's permanent stagger, and will not move away. After a few strikes, a blood covered silhouette will appear at his location.
Once Mercer is dead, loot both the Skeleton Key and Eyes of the Falmer from his body.
Escape from Irkngthand
Brynjolf and Karliah will jump down and the chamber will start filling up with water. Once the water is high enough, a rock above the statue's head will fall off and open up an area above it. Head into the area, which will lead to an entrance to Bronze Water Cave.
Speak to Karliah
Upon speaking to Karliah, she will explain that returning the key will not be easy. The inner sanctum has been locked due to the fact that the Nightingales failed to protect the key in the first place, and the only way through is via the Pilgrim's Path. Brynjolf heads back to the guild while Karliah is too afraid to face Nocturnal after her failure, so the Dragonborn must do this alone. After telling the Dragonborn to return the Skeleton Key, she hands over the Nightingale Bow.
Karliah will tell the Dragonborn about the various 'Agent' aspects that can be assumed at the end of the quest.
Journal
| Journal Entry |
|---|
|
I'm on my way to Irkngthand, a vast dwarven ruin that supposedly contains the legendary "Eyes of the Falmer." Karliah and Brynjolf are waiting for me within. Together we hope to stop Mercer Frey from stealing the Eyes and escaping from Skyrim with the Skeleton Key of Nocturnal.
|
|
I've entered Irkngthand, a vast dwarven ruin that supposedly contains the legendary "Eyes of the Falmer." Karliah and Brynjolf are waiting for me within. Together we hope to stop Mercer Frey from stealing the Eyes and escaping from Skyrim with the Skeleton Key of Nocturnal.
|
|
Karliah and Brynjolf have joined me in my exploration of Irkngthand, a vast dwarven ruin that supposedly contains the legendary "Eyes of the Falmer." Together we hope to stop Mercer Frey from stealing the Eyes and escaping from Skyrim with the Skeleton Key of Nocturnal.
|
|
I've finally located Mecer [sic] Frey within the ruins of Irkngthand. He seemed to be expecting us, and I'm afraid he led us here with the express purpose of eliminating the Nightingales once and for all.
|
|
Mercer Frey, betrayer of the Thieves Guild and Gallus's murderer is finally dead. Upon his death, a wave of magic issued from his body and has caused the already crumbling chamber to collapse and fill with water.
|
|
Mercer Frey is dead and I've recovered the Skeleton Key of Nocturnal from his corpse. I need to escape Irkngthand before the place collapses around me.
|
|
Safe from the dangers below, Karliah, Brynjolf and I finally have a moment to breathe. Mercer Frey is dead, the Skeleton Key of Nocturnal is in my possession and, most importantly, the Nightingales have survived.
|
|
Karliah, Brynjolf and I have slain Mercer Frey, escaped Irkngthand and recovered the Skeleton Key. All that remains is returning the artifact to the Twilight Sepulcher where it belongs; a journey I must undertake alone.
|
Trivia
- At the end of the mission, Karliah's dialogue is wrong.
- This is the only Daedric quest that does NOT award the Dragonborn with a personal artifact. The received Skeleton Key counts as a quest item for the next quest, so it is impossible to keep it unless one chooses to ignore the Thieves Guild questline.
- Also, the Skeleton Key does not count towards the Oblivion Walker achievement.
- The cutscene as the Dragonborn enters the room with Mercer Frey removing the Right Eye of the Falmer from the Great statue of Irkngthand could be a reference to the cover art of the Player's Handbook for Advanced Dungeons & Dragons. The cover features two thief-like characters that are attempting to remove a large gemstone in the right eye socket of a large, humanoid statue.
Bugs
|
This section contains bugs related to Blindsighted. Before adding a bug to this list, consider the following:
|
| Click to show |
|---|
|
| Thieves Guild Quests (The Elder Scrolls V: Skyrim) | |
|---|---|
| Main Quest | |
| Delvin's Small Jobs | |
| Vex's Small Jobs | |
| City Influence Jobs | |
| Other | |