Canvas the Castle is a quest in The Elder Scrolls IV: Oblivion.
Background[]
Countess Arriana Valga in Chorrol will inform the Hero that a treasured painting of her late husband has been stolen. She requests that they retrieve it for her and bring the culprit to justice.
Walkthrough[]
On approaching the widowed Countess Valga, the Hero will see that the death of her husband was quite recent and compounded by the loss of his portrait, which she said to be her last reminder of him. She wants the painting recovered and the thief brought to justice, but warns that accusing the wrong person will bring her wrath down on the accuser. After that, she hands over the key and tells the Hero to start searching the restricted areas of the castle and question all possible witnesses.
Question the Witnesses[]
First, the Hero must question the suspects. Some suspects roam the city and can be difficult to find at times; refer to the map locators to find them. The suspect are listed below:
- Chanel, the resident mage
- Orgnolf, the castle porter
- Bittneld the Curse-Bringer, the Captain of the Guard
- Laythe Wavrick, the Countess' herald
- Orok gro-Ghoth, the Countess' Steward
Either persuade or bribe the witnesses until their disposition is high enough that they feel comfortable talking about the item in question. One can also use spells, such as the Imperial's Voice of the Emperor, to temporarily raise their disposition while talking with them.
Gather the Evidence[]

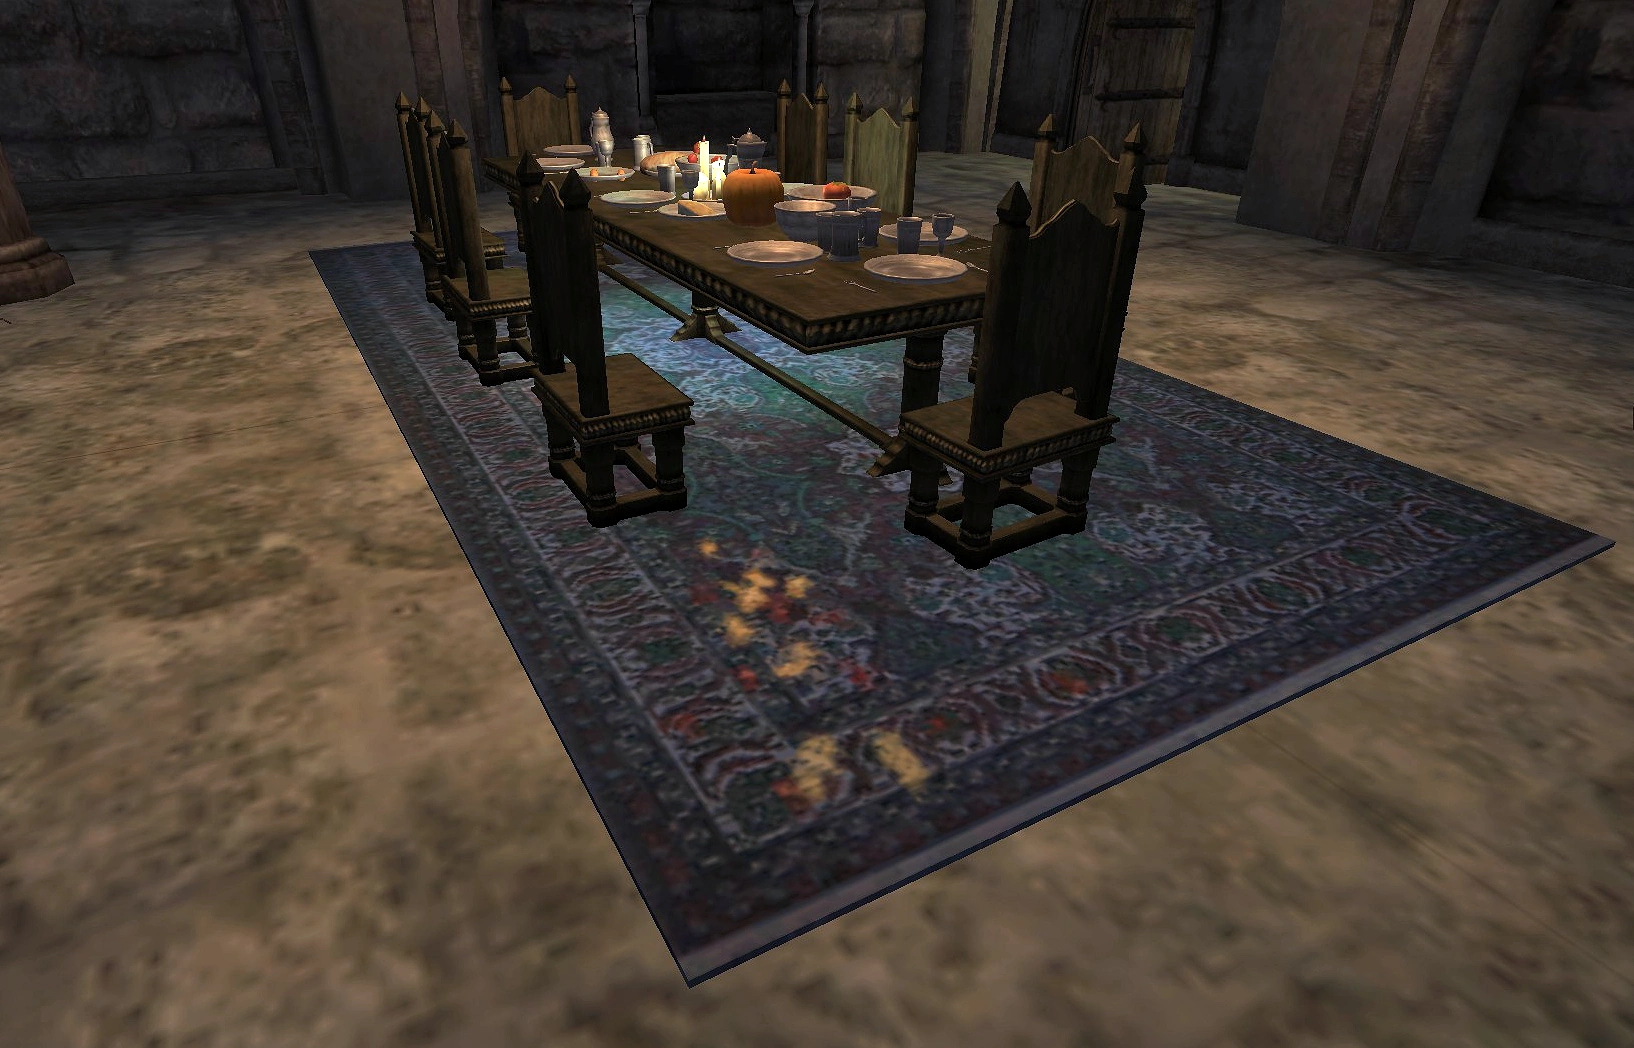
Clues in the Dining Room.
After each suspect has been questioned, the Hero must search the castle for clues to the painting's whereabouts and will more than likely be led to believe that one piece or another is located in a different part of Cyrodiil and start chasing ghosts all over the province, but all the evidence is in Castle Chorrol. There are three pieces of evidence:
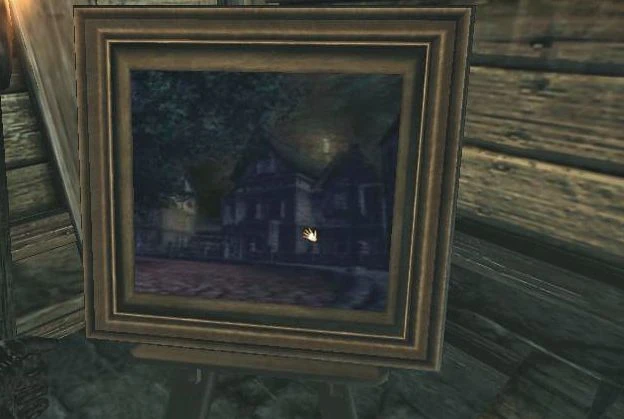
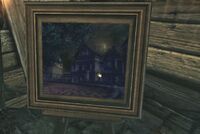
- Unusual Painting: Behind a set of crates in the West Tower is a trap door in the floor, which takes them into a subsection of the tower where they will find a portrait of a random chapel building. This one can be confusing, as it can lead the Hero on a merry goose chase across Cyrodiil to find an image matching the one in the painting.
- Paint-Stained Carpet: In the dining room of the castle, inspect the carpet underneath the table for a paint stain. Collect it as evidence by activating the stained carpet.
- Chanel's Lectern: Go to Chanel's room and open her lectern.
Even if one is able to detect the thief through the interviews alone (two witnesses gives clues on the weather that makes the suspect's alibi an obvious lie), an accusation too early in the investigation will get one nowhere. All three pieces of physical evidence must be gathered before confronting the thief and advancing the quest.
Confront the Thief[]
Reward Painting.
When all three pieces of evidence are collected, confront and accuse Chanel. At this point, one must have a high disposition with Chanel (70+) in order to find out her true intentions. Once her disposition is high enough, Chanel will reveal that she deeply loved the Count and was the portrait's original painter. After the Count's death, the Countess spent so much time with the painting it began to make Chanel jealous; however, she feels ashamed for what she has done and gives the painting back to the Hero.
Report back to the Countess who will ask who was accused. At this point, the Hero can either truthfully declare that Chanel was the thief or lie and state that neither suspect was guilty and that the painting must be in the possession of someone outside the Castle.
- If Chanel is turned in, she will be stripped of her duties and banished from Chorrol, although she is not found in any other cities either. The Countess will thank the Hero and award them with some gems and level-dependent gold.
- If the Hero lies, the Countess will be saddened by the news and reward a meager amount of level-dependent gold. Find Chanel afterwards, who will express her gratitude for not turning her in and keep the painting for the rest of her days as a reminder of the man she once loved. Chanel also promises a "special painting" in three weeks time. Return to her in three weeks and she will give a painting of the Chorrol Town Center worth 500
 . Afterwards, Chanel disappears and is never seen in the game thereafter.
Journal[]
| Journal Entry |
|---|
Countess Valga of Castle Chorrol has tasked me with the recovery of a portrait that was stolen from her throne room. It's very dear to her as it reminds her of her husband who was lost years ago. She mentioned clues, perhaps I should find out more. |
To recover the stolen painting, I should begin by questioning the castle residents, and then search the Castle for physical clues that could help solve the mystery. My best bet would be to start with the Countess herself. |
Countess Valga has told me that the only people who were unaccounted for and had access to her bedchamber were the resident mage, Chanel, and the castle porter, Orgnolf. She suggested I question them and some of the other castle residents: the Captain of the Guard, Bittneld, her herald, Laythe Wavrick, and her Steward, Orok gro-Ghoth. |
When I asked about the night in question, Orgnolf told me that he spent a bit of time arguing with a delivery boy in the Great Hall who had a bit of an accident with a wine shipment in the rain, then spent the rest of the night in his room. I should continue questioning the suspects the Countess recommended. |
Orok gro-Ghoth mentioned he was in the castle that entire night because it had been raining, but didn't see Orgnolf or Chanel. Also, he mentioned he had caught Orgnolf drinking in the West Tower once. When he had threatened to tell the Countess about it, Orgnolf apparently stopped. I should continue questioning the suspects the Countess recommended. |
When I asked about the night in question, Chanel told me that she spent some time in the courtyard of the castle taking star readings. Then she made her way to the dining area off of the Great Hall. Finally, she went to her quarters to sleep. I should continue questioning the suspects the Countess recommended. |
Bittneld, the Captain of the Guard, said he had been out on patrol in the streets of Chorrol that night. In addition, he mentioned seeing Chanel spend a good deal of time in the castle's West Tower. But when he had confronted her about it, she said that was where she had been performing some of her magic research. I should continue questioning the suspects the Countess recommended. |
Laythe Wavrick, the castle herald, told me that he's observed Orgnolf having a drinking problem and often asking for money to fund his new habit. I've spoken to all of the possible suspects and witnesses. Now, I should concentrate on gathering the clues if I'm to solve the crime. |
I've found an interesting painting in a concealed area of the West Tower. It seems someone in the castle is a painter. I think I should continue looking for more clues. |
I've found paint stains and a paint footprint on the carpet in the dining area off the Great Hall. I think I should continue looking for more clues. |
Chanel seems to have painting supplies concealed in a lectern in her room. The fact they're concealed seems suspicious. I now have enough clues to make an accusation. |
I've confronted Orgnolf with the clues, but all he did was become irate and threatened to tell the Countess of my false accusations. I think I made the wrong choice. I should go speak to Chanel. |
I am certain that Chanel is the culprit. After all, the evidence clearly points to her. But without a full confession, Countess Valga won't be satisfied. I need to convince Chanel to trust me enough to tell me why she did the crime. |
I've confronted Chanel with the clues and she's admitted to taking the painting. She pointed out where it was hidden, and now I must decide whether or not to tell the Countess about her crime. |
I've spoken to the Countess about Chanel's crime. She's been banished from the Castle, and as a reward, a sizable bounty of gold and gems has been given to me.
|
I've spoken to the Countess about Chanel's crime, and she's been banished from the Castle. However, since the investigation didn't go smoothly, the Countess wasn't pleased and only rewarded me with some gold.
|
I've told the Countess that neither suspect is the criminal, and that the painting must be in the possession of someone outside the Castle walls. She seemed disappointed, but I've kept Chanel's honor intact. |
Chanel was pleased that I didn't turn her in to the Countess. She told me that as a reward, she'd paint a portrait for me, but it'll take three weeks. I should return to Castle Chorrol at that time. |
It's been three weeks. I should return to Castle Chorrol and pick up my painting from Chanel.
|
Appearances[]