Fahlbtharz is a Dwemer ruin located in the mountainous northern region of the island of Solstheim. It is one of three Dwemer ruins located on the island.
Walkthrough
Following the path will lead to a room with a Dwarven Sphere. Ten buttons in two rows of five can be found there, with the following effects labeled from one to ten:
- Opens or closes entrance door
- Releases a Dwarven Spider
- Activates spinning blades near exit
- Releases a Dwarven Spider Guardian
- Releases a Dwarven Spider
- Sets off left flame trap above buttons
- Opens door opposite buttons containing a chest and a Solid Dwemer Metal
- Activates spinning blades opposite buttons
- Opens door for the exit
- Sets off right flame trap above buttons
Continuing the path leads to a room with giant Dwemer gears spinning on the bottom. Upon walking to the end of the right side of the platform, one can jump onto the gears. There will emerge some Dwarven Spiders from the center of some of those gears, continuing south leads the Dragonborn to the Corridor Room.
Room of gears and Fahlbtharz boilery puzzle
Going to the right will bring the Dragonborn to a small room, with two doors and multiple buttons. Behind the first door is a chest on the wall, and some scrap metal. To open the other door, press the second button from the right on the bottom row. If going straight and staying on the gears, the Dragonborn may get to the other side of the room.
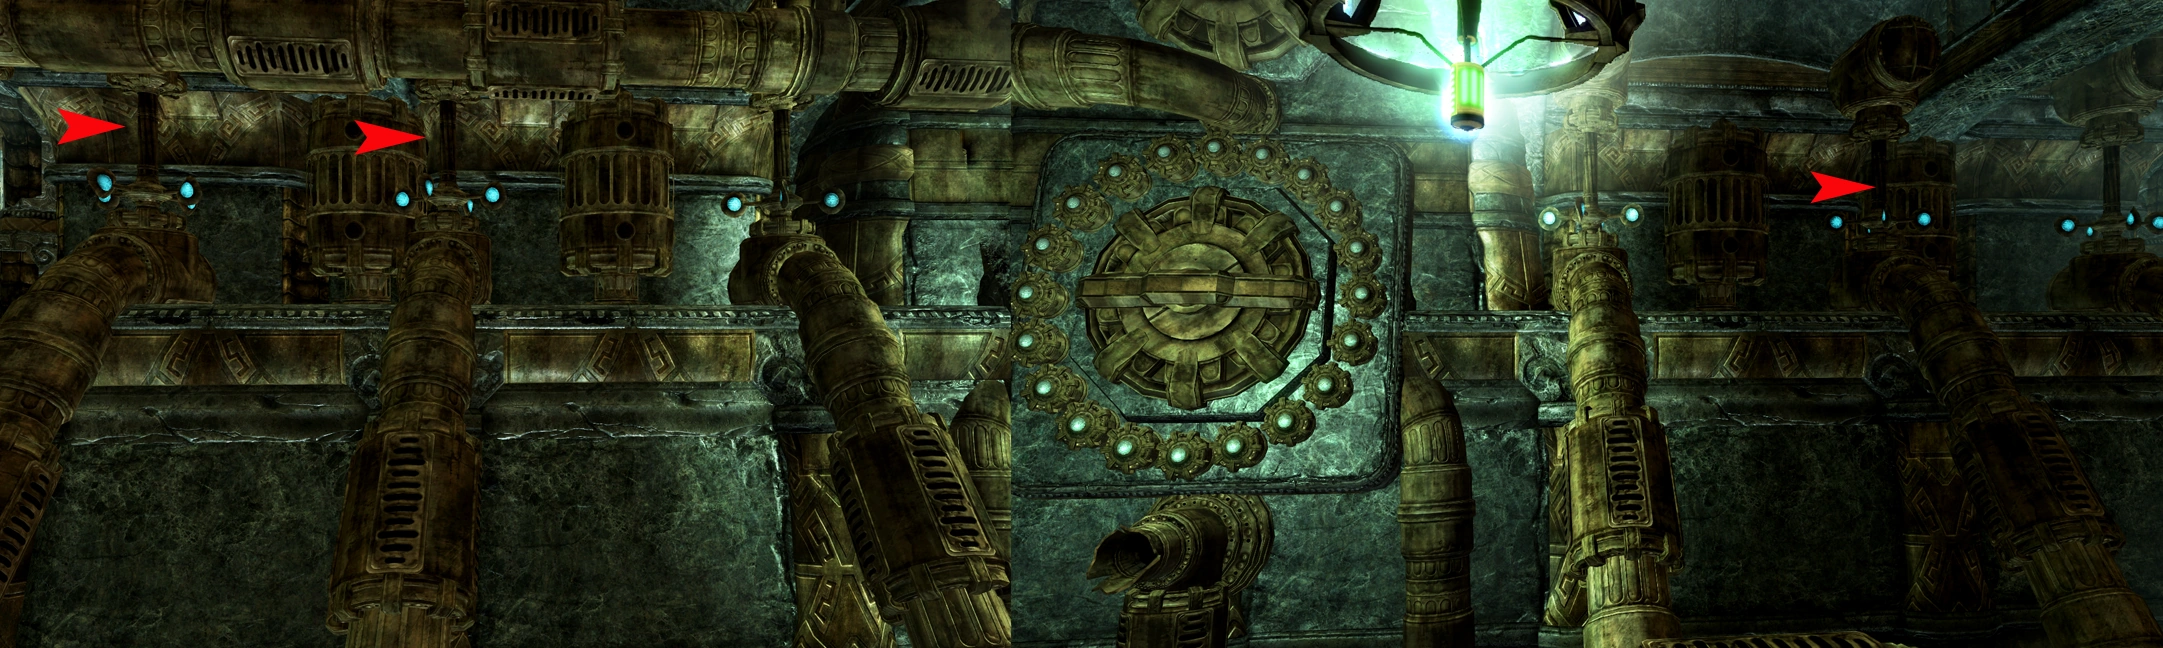
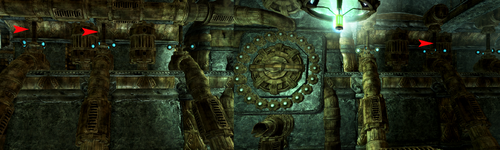
Passing through the gear mechanisms and going up the stairs leads to the body of a Nord adventurer named Eydis. Her journal explains she and her Dunmer companion, Ulyn, are searching for the Visage of Mzund. To find Ulyn's body, one must enter the Fahlbtharz boilery and go to the top floor of that room; his journal explains the boiler mechanism. There are six valves that must be shot, and each fills a different amount of lights in the center. One must shoot the correct valves to equal twenty lights. If more are triggered, the lights on the boiler mechanism turn orange and Dwemer automatons will appear to attack.
Solution to the resonator puzzle.
The valves hit will light the following number of lights:
- Far left = 3
- Middle Left = 4
- Left closest to center = 6
- Right closest to center = 9
- Middle Right = 13
- Far right = 18
Use a bow and arrow and shoot the valves. The only solution to the puzzle is to shoot the far left, middle on the left, and middle on the right valves. One may also use a Destruction spell such as Incinerate or Icy Spear to shoot the valves.
After going through the door that opens, one will find themselves back in the main cavern with the gears over water. There will be two leveled Dwarven Ballistas to eliminate. The second is over the bridge, and behind it is a chest with leveled loot. After defeating it, directly behind that across the bridge is a skeleton and a leveled bow. There is also another valve. To gain access to the Grand Hall, one must not hit it while standing on the same platform. Instead, one must go back to the rotating bridge and hit it with an arrow or magic. The bridge will then spin again, bringing the Dragonborn to the door to the Grand Hall.
To the left of the bridge, before entering the Grand Hall, below, there is a small rock outcrop. On it, there is a skeleton and an Expert level chest. It contains leveled loot. It should be noted that if one chooses to jump down to retrieve the chest contents, they will have to go back through the halls to reach the Grand Hall Door again.
It is possible to skip this whole process and go straight to the Grand Hall by using the Whirlwind Sprint shout and hopping along the edges of the bridges.
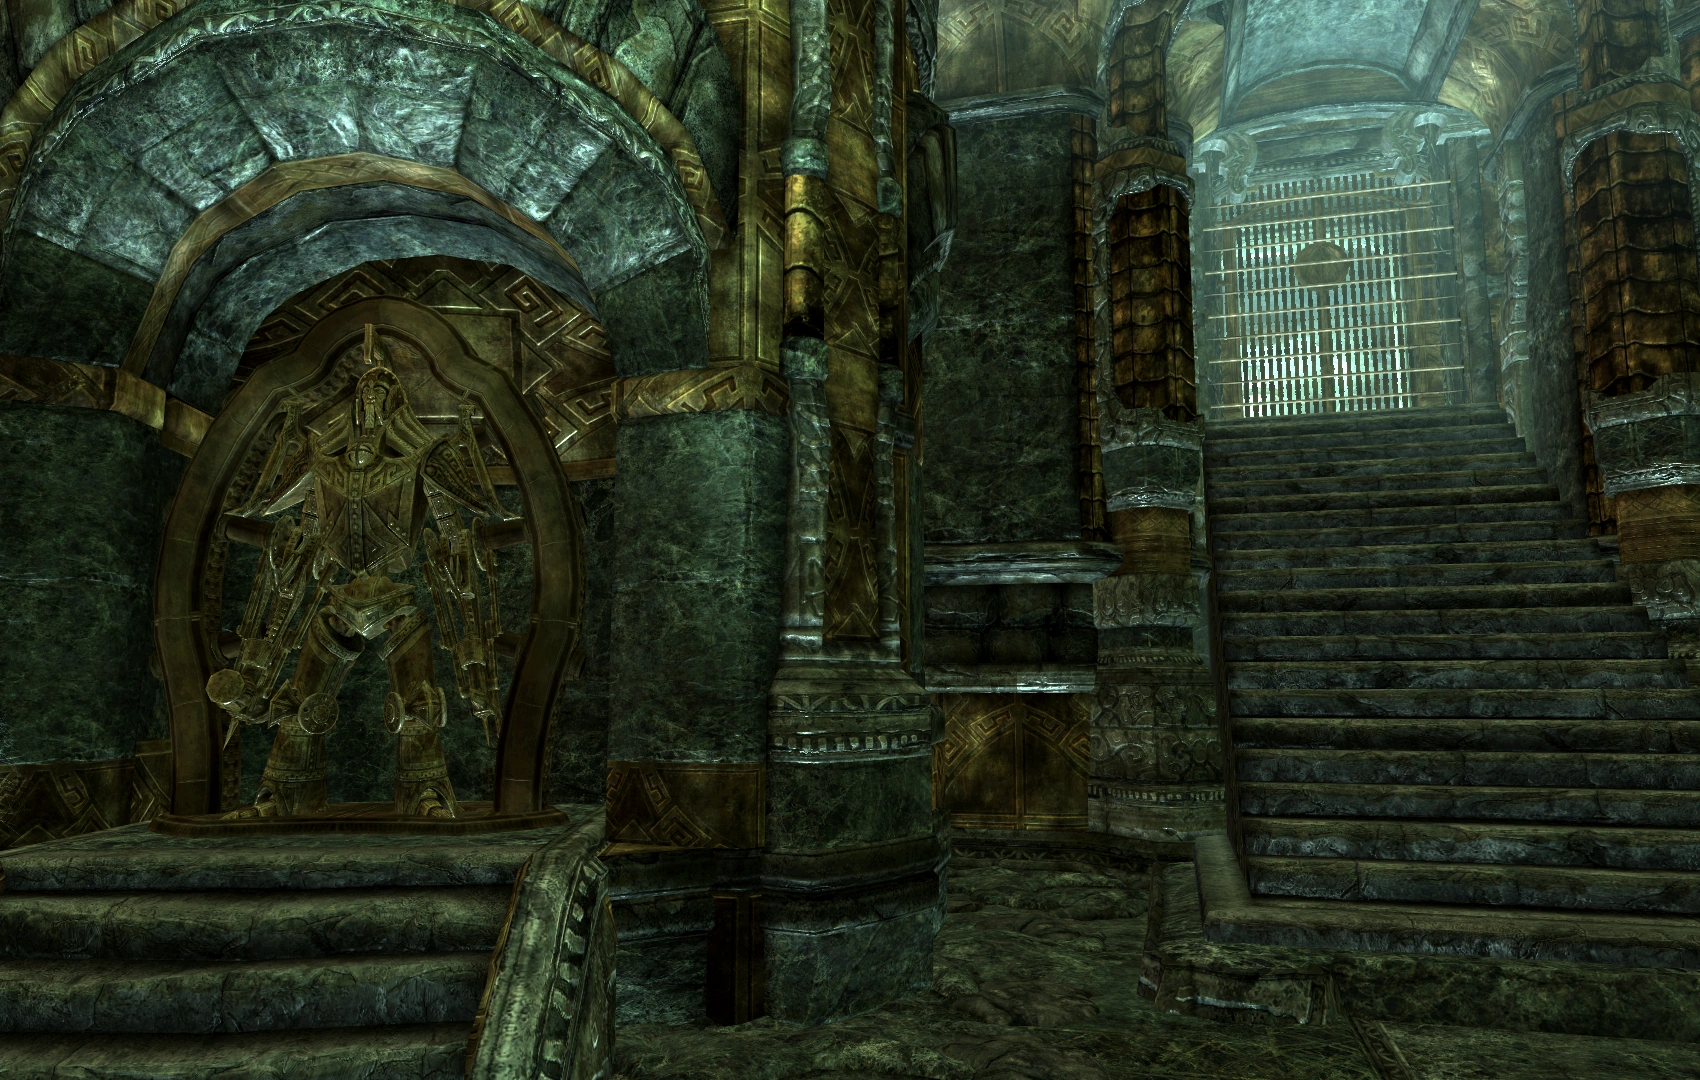
The Grand Hall
Once entering the Grand Hall, there are a couple albino spiders, an oil spider, and two more Ballistas. After clearing those, there are two Centurion Masters. Killing them allows the retrieval of the Dynamo Cores to open the last door.

Kill the Centurion master and retrieve the Dynamo Cores
To finish, one may simply grab the helm and the piles of gold around it. There is also one of the five Kagrumez Resonance Gems on a plate. To exit, the lever must be pulled. Interestingly, the exit tower is not marked on the World Map, though other lifts, such as the Great Lift at Raldbthar, are. It is, however, marked on the Local Map as "Fahlbtharz Grand Hall". The closest location to it that the Dragonborn is able to fast travel to, without going through the underground location of Fahlbtharz, is the Abandoned Lodge south of the Fahlbtharz Grand Hall exit lift.
Alternatively, the Dragonborn can go back and grab all three Dynamo Cores, and retreat the way they came in, as the path is certainly easier going backwards than forwards and the cores are very valuable for crafting Daedric items at the Atronach Forge.
If timed correctly, it is also possible to obtain two of the cores by taking the core from the pedestal which controls the stairs and then taking the one that controls the spike gate. Then, the Dragonborn must quickly use Whirlwind Sprint and they will be in the treasure room with both and the spike gate blocking the path back.
Enemies
- Albino Spider
- Dwarven Spider
- Dwarven Sphere
- Dwarven Ballista Master
- Dwarven Centurion Master
- Oil Spider
- Riekling
Notable items
- Visage of Mzund
- Respawning Kagrumez Resonance Gem
- Leveled Battleaxe
- Ulyn's Journal
- Eydis' Journal
Gallery
")
")
")
")
")
")
Trivia
- It should be noted that the Riekling Huts will not respawn their loot when the area is cleared and that the ruins contain a tonal lock.
Bugs
|
This section contains bugs related to Fahlbtharz. Before adding a bug to this list, consider the following:
|
- 360 When one enters, there may be a hole in the floor directly in front of the door, or the floor itself will not load. The Dragonborn and their follower, if they have one, will fall down until they reach a certain point where they will be transported back to the door, where the cycle repeats itself. To escape, one can move forward in mid-air until reappearing on solid ground. The accompanying follower will disappear but will rejoin next time a new cell is entered.
- After the light puzzle and heading back into the gear room, the game may freeze at the loading screen.
- The Kagumez resonance gem may not be at its intended location.
- PS3 Hitting the Centurion Masters with an instant kill weapon may cause them not to spawn the Dynamo Cores needed to open the last door. Loading a previous save and hitting them with a ranged attack resolves this.
- PS3 The Centurion Masters may not react to the Dragonborn, even after hitting them with a weak attack. However, after killing it when the compass displays it as an enemy, the Centurion Dynamo Core will still be available if the above bug has been avoided.
- The three Dynamo Core puzzle can be activated even when the player has no Dynamo Cores. Simply keep activating the slot and one will appear. This process can be used to farm Centurion Dynamo Cores easily.
- Sometimes, one will have to remove the right Dynamo Core to get the poles to extract.