Baiting the Trap is the second quest given by Sheogorath in the Shivering Isles.
Background[]
Sheogorath sent the Hero to Xedilian to attune the Resonator of Judgement in "A Better Mousetrap." Once this task is completed, the next quest will begin.
Walkthrough[]
When standing on the bottom floor of Xedilian in front of the Resonator, go up the stairs to the north and activate the teleportation pad. The Hero will be greeted by Kiliban Nyrandil, a smiling hooded Dunmer, who will explain that they are trapped until the chambers are proceeded.
Nyrandil will say that there will be three encounters with a group of adventurers. At each encounter, the Hero will have a choice to make: either choose a physically harmful fate, more in the spirit of Dementia, or choose a mental assault, closer to the spirit of Mania.
Chamber of the Gnarl[]
Chamber of the Gnarl.
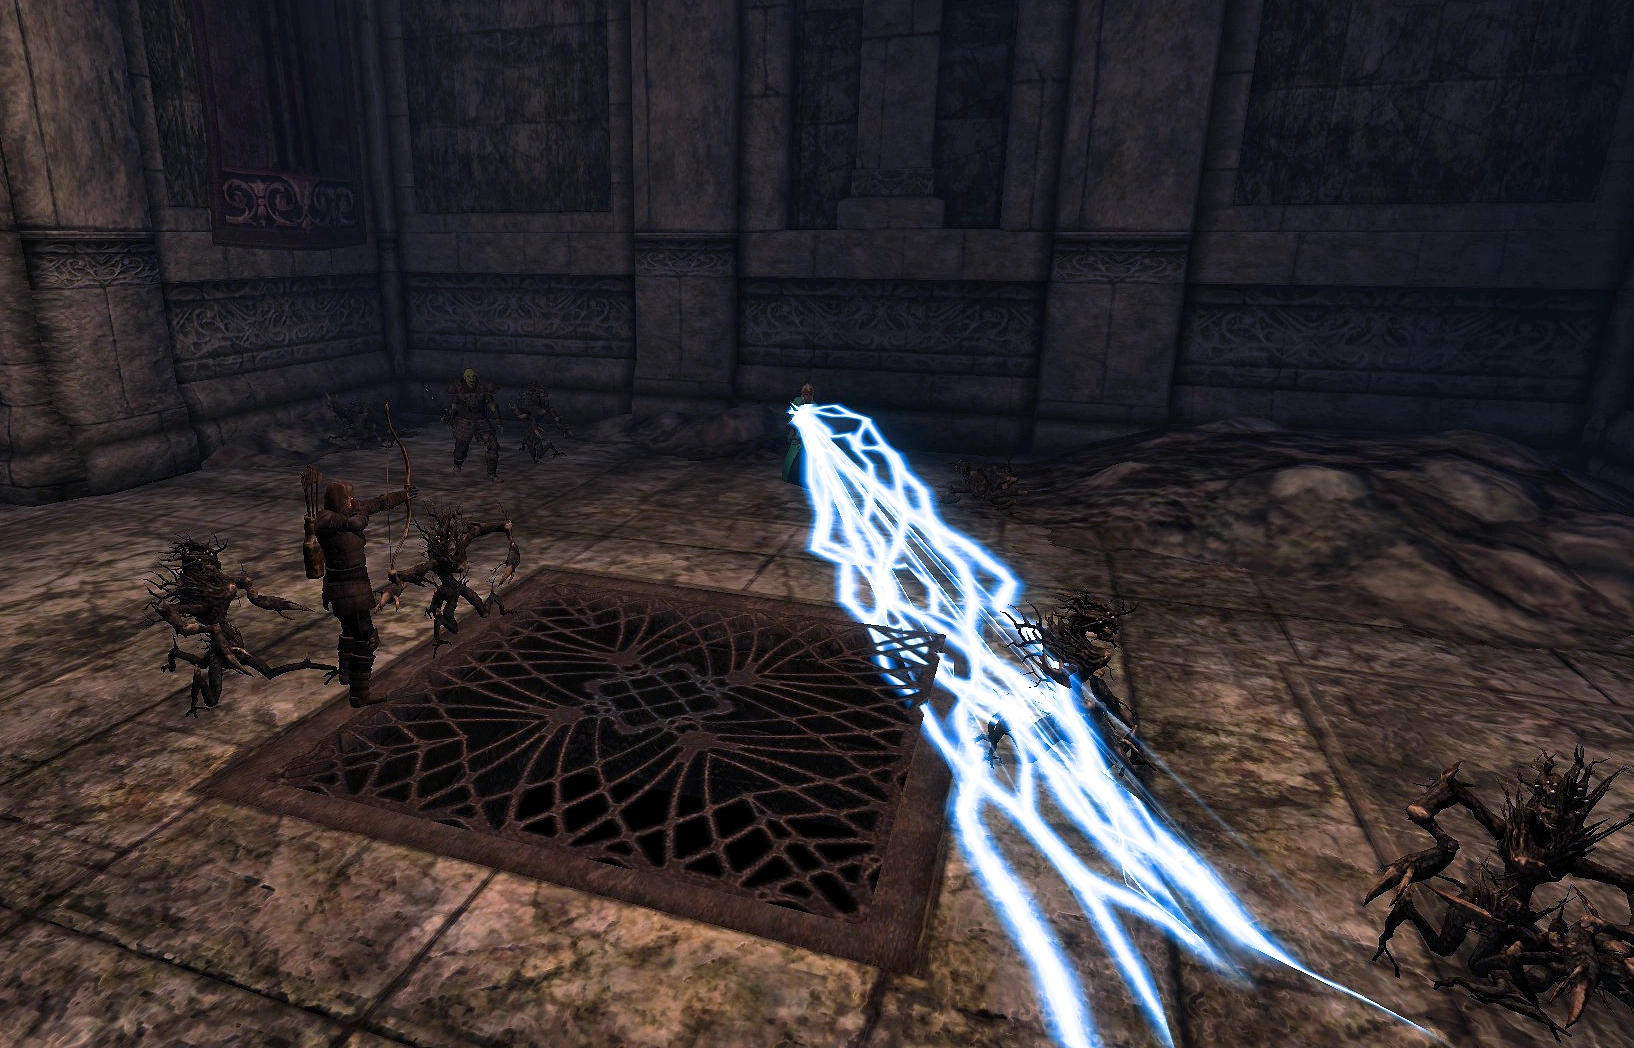
The first chamber is known as the Chamber of the Gnarl. Move into the west room, on to a balcony overlooking a large empty room. Three adventurers — an Orc warrior Grommok gro-Barak, a Breton rogue Lewin Tilwald, and a Dunmer mage Syndelius Gatharian will then enter the room. They will not be impressed by their first challenge, as a dormant gnarl will simply be lying down in the middle of the chamber. The inactive switches, which are shaped like faces and located on the sides of the balcony, will then turn on.
Gnarl Swarm[]
The blue Dementia switch on the left will cause a swarm of gnarls to attack the adventurers. This will cause Lewin to die, and leave the other two adventurers to carry on alone together.
Giant Gnarl[]
The red Mania switch on the right will cause the dormant gnarl to grow much larger and chase after the adventurers. It will be revealed that the gnarl is merely be an illusion, which will cause Lewin to go mad. Afterwards, the other two adventurers will leave Lewin and proceed to the next chamber. Kiliban will say that this is the cause of hallucinogenic spores in the air.
Chamber of Treasure[]
Chamber of treasure
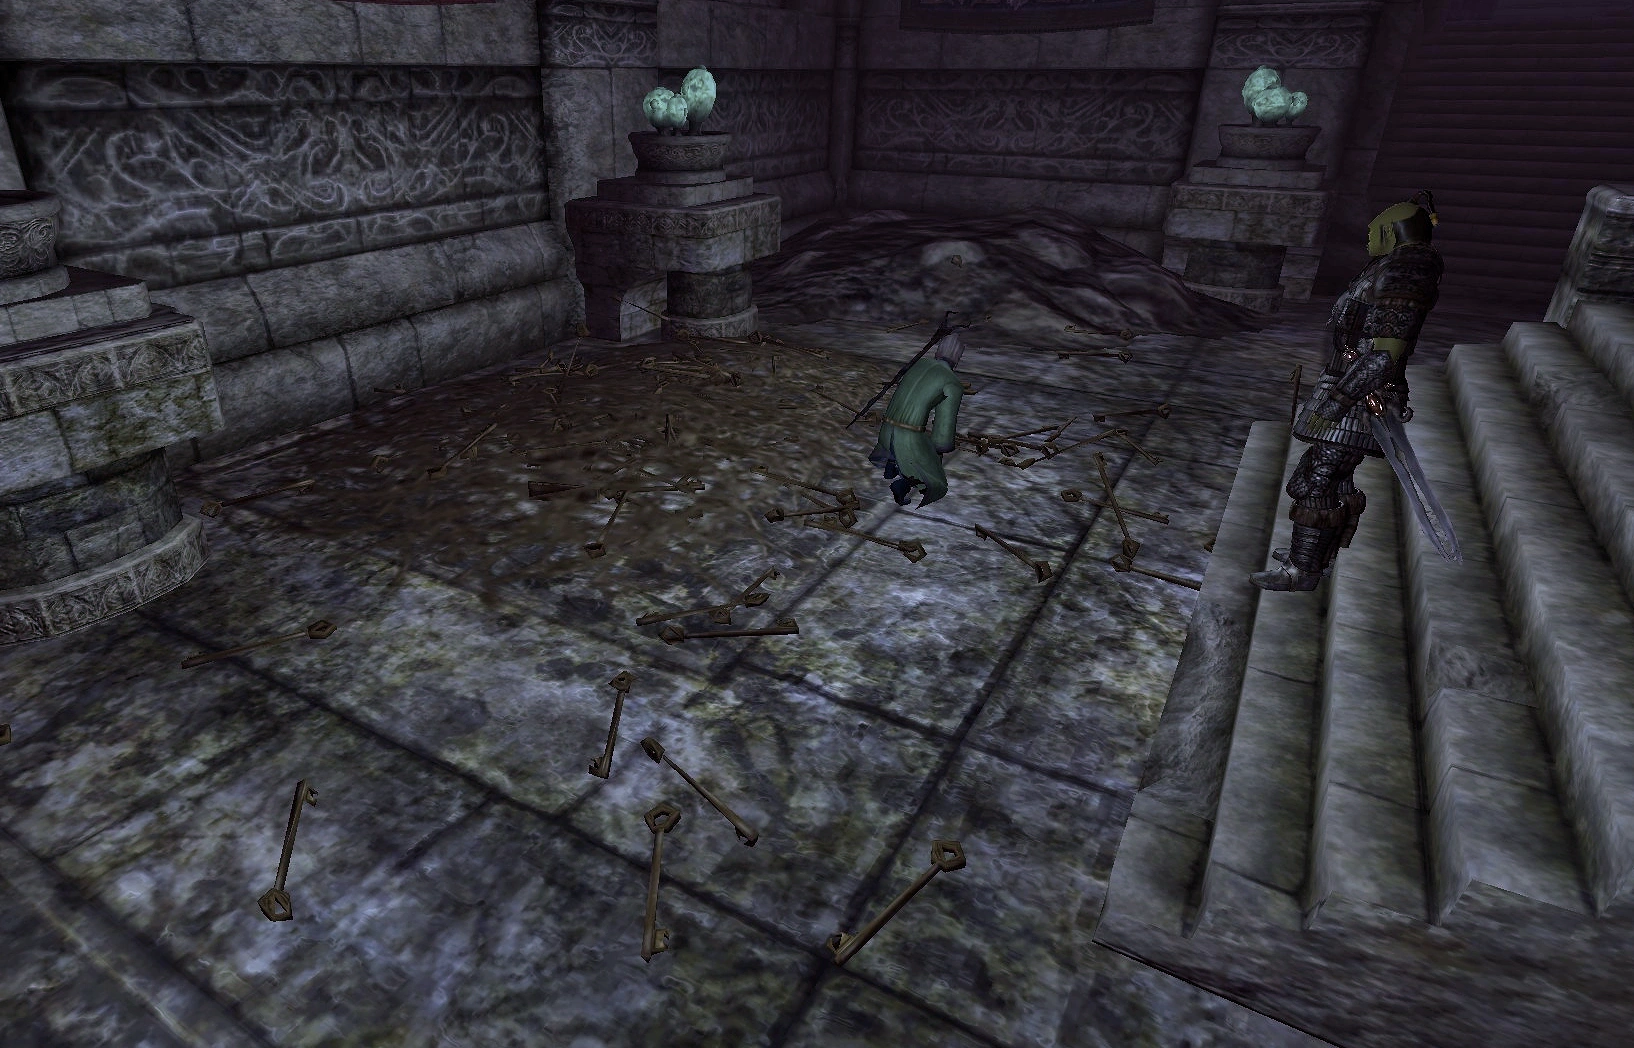
Move onto the nearby teleportation pad. Within the next room, there will be diamonds and other riches held in a locked cage. Grommok will make a comment, saying that if Lewin were still with them, the cage would easily be opened by him. Syndelius will have his doubts and will question the treasure.
Fire Trap[]
The blue Dementia switch on the left will cause a fireball to hurl at both Grommok and Syndelius. Syndelius will die, but Grommok will survive the blast and carry on.
Drop Keys[]
The red Mania switch on the right will cause hundreds of keys to pour down across the treasure cage. This will cause Syndelius to try and search for the right key, making him go insane. Grommok will leave Syndelius and continue on alone. Kiliban will then say that none of the keys fit the lock.
Chamber of the Dead[]
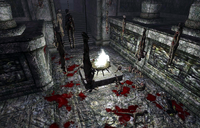
Chamber of dead
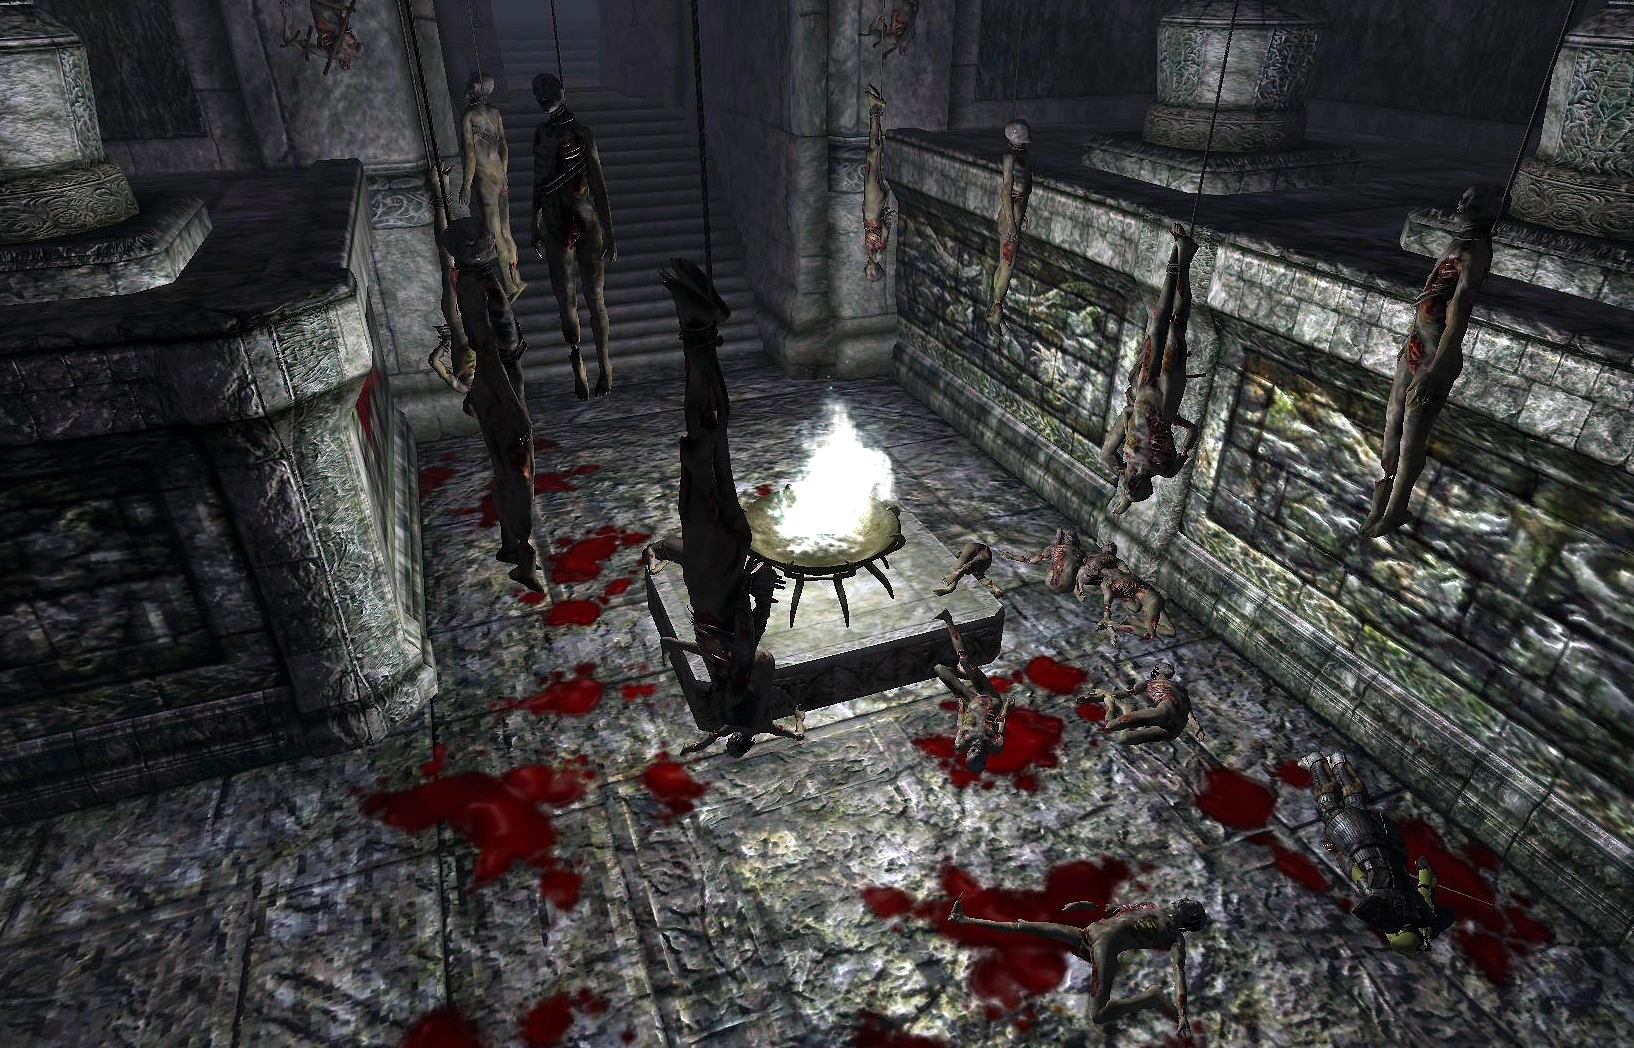
Move onto the third teleportation pad. The final room is blood-spattered and decorated with hanging corpses. The sole remaining adventurer, Grommok, enters.
Ghost Illusion[]
The red Mania switch on the right will cause Grommok to temporarily leave his body as a ghost. His body will become a ragdoll and Grommok will question how he "died," considering nothing killed him and he never had a fighting chance. His soul then returns to his body and he goes insane, completing the chambers.
Raise the Dead[]
The red Dementia switch on the left will cause the corpses on the floor to rise from the grave. They will attack and kill Grommok, which completes the quest.
Speak to Nyrandil[]
Afterwords, speak to Nyrandil again. He will congratulate on the success and give the Hero the sword Dawnfang/Duskfang. Go up the stairs to the Recovery Chest to find leveled loot and the Talisman of Abetment.
Immediately afterwords, groups of the distinctive silvery crystals will suddenly grow without warning, and a trio of Knights of Order will appear. Kill the Knights (do not forget to check for Hearts of Order) and speak to Nyrandil again.
He will explain that Knights were attracted to the Resonator and will order you back to Sheograth to notify him of this new and ominous development.
This will complete the current quest and begin the next quest, "Understanding Madness."
Journal[]
| Baiting the Trap – SE03A | |
|---|---|
| ID | Journal Entry |
| 5 | I should now make my way back to New Sheoth and report my success to Sheogorath. |
| 10 | I've met Kiliban Nyrandil inside one of the many observation rooms of Xedilian. It also appears that Xedilian has its first visitors, a group of adventurers. It's up to me to decide whether to allow Xedilian to kill them or drive them insane. |
| 12 | I've unleashed the Giant Gnarl on the adventurers in Xedilian. With the threat of what he perceived as certain death knocking at his door, Lewin the Rogue has gone insane. I should make my way to the next observation room and choose how the adventurers will encounter their next obstacle. |
| I've unleashed the Gnarl Swarm on the adventurers in Xedilian. Unable to survive their onslaught, Lewin the Rogue has been slain. I should make my way to the next observation room and choose how the adventurers will encounter their next obstacle. | |
| 20 | I've caused Syndelius the Mage to go insane by pouring hundreds of keys on the ground which convinced him that one of them opened the gate to the huge treasure pile. All that remains now is the leader of the group, Grommok. I should make my way to the last observation room and choose how the stubborn Orc will encounter his final obstacle. |
| Using a huge pile of treasure as bait, I lured the two remaining adventurers into a fire trap. Syndelius the Mage didn't survive the blast, leaving only their leader, Grommok. I should make my way to the last observation room and choose how the stubborn Orc will encounter his final obstacle. | |
| 50 | By making Grommok think that he actually died and became a ghost, I've driven him insane. Now that all of the adventurers have been dealt with, I should speak to Kiliban. |
| I've caused the death of the remaining Orc adventurer, Grommok, by animating the zombies in the final room of Xedilian. Now that all of the adventurers have been dealt with, I should speak to Kiliban. | |
| 55 | Kiliban Nyrandil has told me to meet him in Xedilian's reception chamber where I can recover the defeated adventurer's gear. I should use the final transport pad and make my way there now. |
| 60 | I've received some items and gold from Kiliban Nyrandil that had belonged to the adventurers. I can now safely report back to Sheogorath that Xedilian is in full operation. |
| 70 | Before exiting Xedilian, I was attacked by three unusual beings in equally strange armor. I should ask Kiliban if he knows anything about them. |
| 200 | Kiliban explained the identity of the strange beings, calling them Knights of Order. He seemed very dismayed and wishes me to hasten to Sheogorath and report their presence.
|
Bugs[]
|
This section contains bugs related to Baiting the Trap. Before adding a bug to this list, consider the following:
|
- PC Kiliban may say his dialogue twice (once before using the teleporter, once after).
- PC Grommok will not move and will leave the quest incomplete.
- After the Knights attack, the trio of adventures can be seen in a holding pen opposite the landing pad. Despite the fact that their weapons were given to the Hero, they are still visibly wearing them.
Appearances[]