- "This was the last great bastion of the Dragon Cult, and their leader's mask was reported to be quite powerful."
- ―Captain Valmir[src]
Siege on the Dragon Cult is a quest available in The Elder Scrolls V: Skyrim. Captain Valmir wants the Dragonborn to retrieve a "powerful weapon" from Forelhost.
Background[]
I have been asked to defeat the dragon priest in Forelhost and to bring back his Mask. A journal left by Skorm Snow-Strider may reveal a way past the collapsed area.
Objectives[]
- Find Skorm Snow-Strider's journal (optional)
- Obtain Rahgot's mask
- Show Skorm Snow-Strider's journal to Valmir (optional)
- Find the key to the well in the Catacombs (optional: if Valmir was not killed)
- Return to Valmir (if alive)
- Kill the imposter Valmir (if alive)
Walkthrough[]
In Forelhost's courtyard, Captain Valmir has established a camp. If approached, he starts a conversation with the Dragonborn and asks for help with retrieving a mask from inside the tomb. The mask in question is the dragon priest mask, Rahgot. He also asks to possibly find Skorm Snow-Strider's journal (optional). The quest starts by following him to the entrance. (If the Dragonborn has a bounty, Captain Valmir will attack. Once he's dead, take the key to Forelhost Stronghold from his corpse.)
Captain Valmir can be pickpocketed or looted before entering to find Valmir's Orders (they can also be collected at the end of the quest). They reveal that he is an impostor, and that he is lying to the Dragonborn. The orders read:
"You will proceed to the ruins of Forelhost to retrieve the Mask from the Dragon Cult there. If you are discovered, impersonate an officer. It is unlikely that anyone from Skyrim will be clever enough to see through the disguise. Once you have obtained the Mask, bring it to Labyrinthian."
Forelhost Stronghold[]
Inside the Stronghold, an iron door opens to a large room with a dead Imperial next to a campfire. Soon a Dragon Cultist ghost will appear, ready for battle. Killing it will reveal an ash pile with a full set of Ancient Nord Armor, a large quiver of Ancient Nord Arrows, and Ancient Nord Weapons to take from it. There is an exit on the other (northwest) side of the room that is protected by a swinging log trap. Through the exit, the path leads to a 4-way intersection with the path to the left (southwest) blocked by an iron gate. Two more cultists are in this area. One of them is seen armed with a Dragon Priest Dagger, but will switch to using Frostbite once hostile, but the dagger can be looted from its ashes after slaying it. Turning right (northeast), a set of stairs leads up to a right hand T intersection. Straight ahead through an open wooden door is a dead end with a novice locked chest. To the right (southeast) is another path with a swinging blade trap that begins to move. Between the two swinging blades is the corpse of a Stormcloak.

Location of the Journal.
Inside the next room there are two more cultists, and Skorm Snow-Strider's journal on a table. Reading the journal will give a hint of what happened here a long time ago. To the left of the table is an apprentice-locked chest. The doors on the left (southwest) lead to a large bedroom with two more cultists. In the southwest corner of the room, a path leads down a few steps, then turns left and goes through a door to a large area overlooking a room with another Dragon Cultist. To the left (northeast), an arched stone bridge leads to a dead-end with an adept-locked chest.
From the previous room, down the ramp is a smithy (with a grindstone, anvil, and a workbench). There are also several ingots and ores lying about. A doorway to the southwest leads to a dining area with another cultist. Straight ahead, a small room has a bed upon which lies the corpse of a draugr with a leveled weapon. To the right (northwest) is a room with a ramp where two draugr, draugr wights, draugr scourges, or draugr deathlords are waiting in their coffins, with the ghost of another Dragon Cultist up by the table. After they are disposed of, the ramp up can be used to get to a boobytrapped chest.
Back down the ramp, the stone steps lead up to a table with a soul gem. Through the door on the right (northwest) is a corridor with burned corpses and a fire trap. On the right is a table with a leveled weapon. Straight ahead, a lever on the right opens the iron gate the was seen near the beginning of this dungeon. To the left (northwest) and down the steps, a leveled draugr will be waiting in front of the door to Forelhost Crypt.
Forelhost Crypt[]
The corridor immediately turns right (northeast) and ends in a room with a T intersection. Against the wall straight ahead, a table holds a Grand soul gem. To the left is a corridor with a swinging blade trap and a cage beyond with a master-locked gate protecting a spiral set of steps down (if you picked the lock then continue to Forelhost Refectory).
To the right (southeast), a burial chamber leads to a large room with three doors out. The door on the left side of the northeast wall, when opened, causes a number of linen wraps to fall on the floor, but otherwise is a dead end. The door on the right side of the northeast wall is barred from the other side. The iron door on the southeast wall leads to another crypt area with a T intersection and a draugr. To the left (northeast) is a dead end. To the right (southwest), steps lead down to a room containing several draugr and many urns. Taking a 90 degree turn to the left leads to a door to the northeast that opens to a small room with a chest protected by a spiked gate trap. Back in the crypt area, the open door to the southwest leads to another small room with some minor loot.
The iron door to the northwest leads to a web-covered crypt passageway that turns right. At the next turn to the right, there are two pedestals with loot items on them. However, taking them will result in traps being triggered. The one on the left is a poison dart trap that continually raises and lowers, so it continually fires darts, and thus will be impossible to avoid unless it is not triggered in the first place. The path to the right leads to a swinging blade trap, then another small crypt area with several draugr and two copies of a Lightning Rune Trap; one on the floor leading down stairs and one on a wall next to a leveled draugr resting in the lower niche until disturbed and climbs out. The path turns left (northeast), then right to a master-locked chest and a coffin. Turning left again, the path leads to a crypt area with three draugr. Turning right (southeast), the passage leads to a spiked gate trap and more draugr.

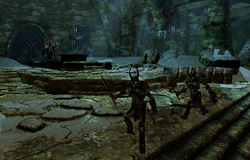
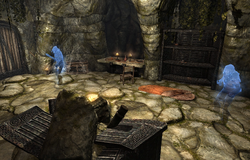
Three draugr emerge from their coffins.
The path continues winding around, with more draugr and possibly a frost atronach. Eventually, a large room is reached with a Draugr Wight Lord and several draugr. The Forelhost well key mentioned in the journal is in the chest to the right of the coffin. Up the ramp, in the northwest corner, is a bridge that leads to a spiral ramp. Up that ramp, a bridge leads to a soul gem trap. To the right (southwest) of the trap is a bridge across to the door bar for the door that was seen earlier. Out that door and turning right (northwest) eventually leads back to the first room in this section.
Now it is possible to open the gate without picking the lock using the well key. The circular stairs end under water - swimming along the corridor to the north eventually leads to a large room with multiple levels. There is one frostbite spider (dead) and a few skeevers. Near the dead spider are a quicksilver vein and a gold ore vein. Continuing to the right (northeast), again under water, there is a room with a note on the table and a dead draugr. The Restoration skill book The Exodus is on a bookshelf behind the table. The door to the northeast leads to a large crypt room with a crushing pillar trap just inside. Leveled draugr will awake as soon as the room is entered. To the left (northwest) is another crypt with several dead draugr and the entrance to Forelhost Refectory.
Forelhost Refectory[]
Up the stairs are more leveled draugr. The stairs turn left (southeast), and at the top on the left side are a pair of leveled armor pieces on pedestal in front of a large carving on the wall. Removing them sets off a dart trap. Straight ahead (southeast) is a dead end with a chest on the left side and another piece of armor on a pedestal. To the right (southwest) is a large room with tables in the center, an iron gate directly across from the entrance that cannot be opened, many urns, at least one live draugr, and a set of double iron doors to the left (southeast). On the table directly ahead of the room's entrance lies another note.
The iron doors lead down stairs to where a draugr patrols. Across the fire pit from the stairs is a fire rune trap. The path turns right (southwest), the right again to a room full of deathbell, snowberries, and mountain flowers (red, blue, and purple) plants with multiple draugr. On the left side is a table with a note of orders. An adept-locked chest is underneath the log ramp up at the northwest end of the room.
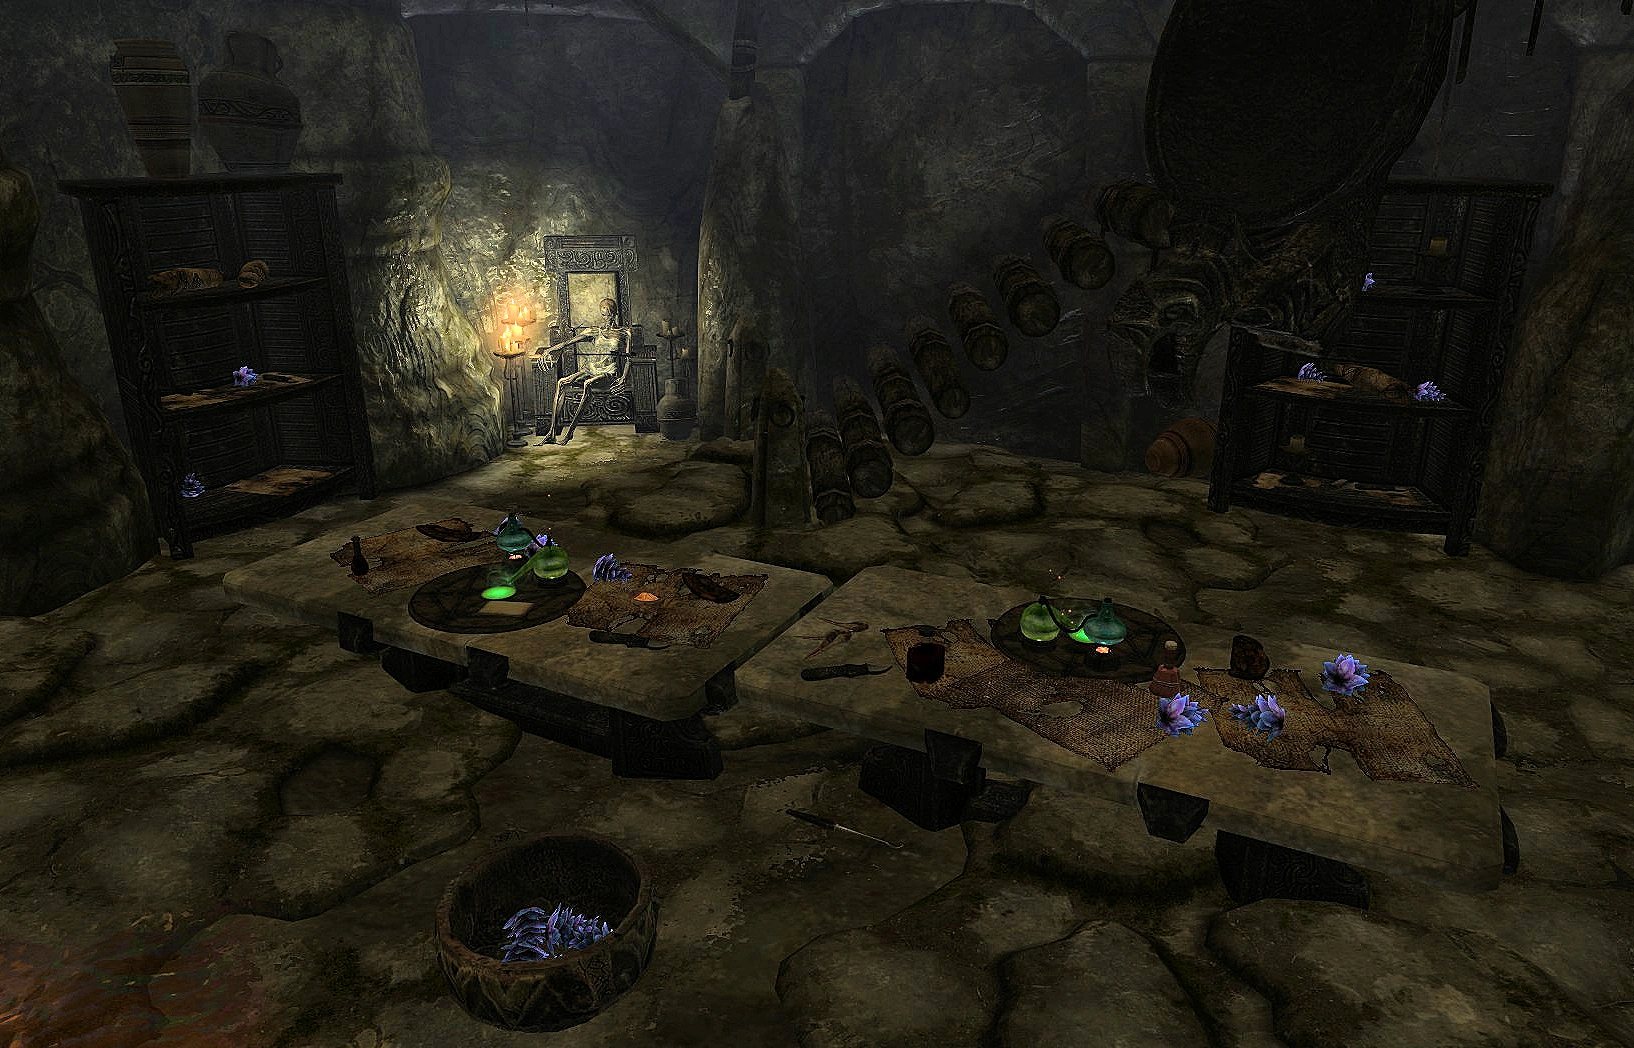
The apothecary lab.
Up the ramp, a 90 degree turn to the right (northeast) leads to the other side of the iron gate that could not be opened before—a lever on the right side opens it. Back at the top of the ramp, there are two alchemy labs to the left (northwest). On a throne you can find a dead draugr, who, according to the Alchemist's Note on the table on the left directly in front of you when entering the room, is Head Alchemist Froda. It seems that Rahgot had her killed for her disobedience. Rahgot's Reply is beside her on the throne.
Up the log ramp are two more thrones. To the right is a room with a lightning soul gem trap and a leveled draugr. On the right (southeast) through open double iron doors is the balcony seen from below where a draugr is waiting. The trap can be disarmed with an arrow, and then the draugr dispatched. To the left of the trap, the room continues northeast into a library-like room. On the right side after the first corner is the glass dragon claw, which is guarded by a leveled draugr. The spear-gate in the room will open when the claw is picked up. To its left is an master-locked door that contains a leveled shield, a leveled potion and a Honed Ancient Nord Sword. A master-locked door to the right provides access to the back of the lightning trap. Further on, the path leads up to a wooden door and a room with an arcane enchanter and several more draugr. At the southeast end of the room is a trapped chest. To the right, the path winds generally southeast until the Dragon Claw hallway is reached. The keyhole can be activated (fox, owl, snake, from top to bottom). Behind the door, stairs lead up into the last chamber.
Final battle[]

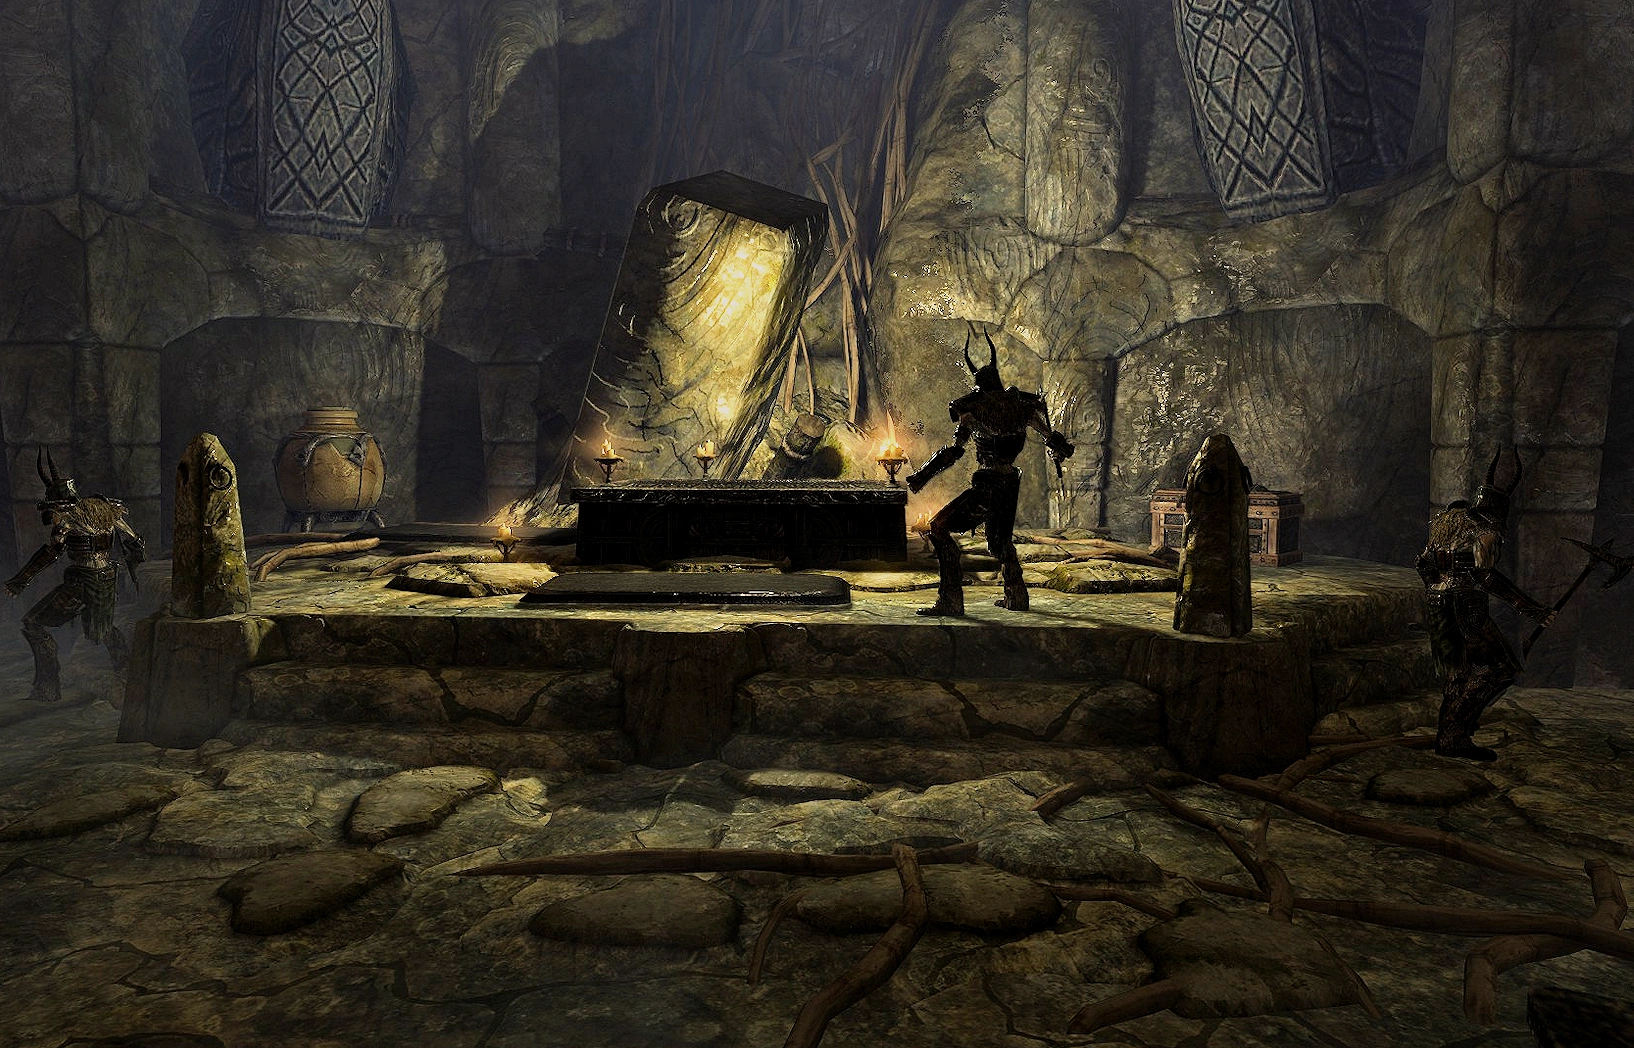
The final battle.
When the Dragonborn reaches the top of the stairs, several draugr lords will emerge and the coffin containing Rahgot opens. A magic rune can be placed on the two coffins at the bottom of the stairs to draw out the draugr inside. When the battle starts, the dragon priest will rise and use his dragon priest staff, most likely a Wall of Fire. After defeating Rahgot and the draugr lords, Rahgot's corpse can be looted for the Rahgot Mask, the staff and the Forelhost balcony key. A chest on the left (northeast) side of the room holds leveled loot. Once all the loot is collected, the large door on the southeast end of the room can be opened with the key. The door leads outside, where the word wall to learn part of the Storm Call shout is on the right (southwest) side of the balcony.
End of Quest[]
Captain Valmir can be returned to by jumping down to the courtyard where he is or going back through the tomb.
The Captain will be engaged in a conversation with either a Stormcloak or Imperial soldier (the opposite of the side chosen in the civil war. If the Dragonborn has not yet chosen a side in the war, then it depends on who was chosen in the beginning, Hadvar or Ralof) when getting close. After Valmir stumbles over his words upon discovering the Dragonborn returned and overheard everything, both men draw their swords and attack. As soon as Valmir is dead the quest is completed. Valmir's Orders, located in his inventory, explain that he was impersonating an officer and implies that he was hired by someone from outside of Skyrim.
It is possible to kill Captain Valmir and still complete the quest, although the Dragonborn will not receive any indications that the quest has been activated. This can be done as simply as engaging sneak mode and shooting Valmir from a distance while undetected, or casting a destruction spell on him. If this is the case, the Dragonborn can still explore the ruin and kill the dragon priest, while an indication that the quest has been completed will appear upon collecting the Priest's mask.
Journal[]
| Siege on the Dragon Cult – ForelhostQST | |
|---|---|
| ID | Journal Entry |
| 10 | I have been asked to defeat the dragon priest in Forelhost and to bring back his Mask. A journal left by Skorm Snow-Strider may reveal a way past the collapsed areas.
|
| 20 | I have been asked to defeat the Dragon Priest in Forelhost and to bring back his Mask. I have found the journal of Skorm Snow-Strider, which may reveal how to bypass the collapsed areas.
|
| 26 | (If Valmir was not killed)
|
| 40 | I have been asked to defeat the Dragon Priest in Forelhost and to bring back his Mask. I can reach the blocked off areas of the stronghold through the well. |
| 50 | I have been asked to defeat the Dragon Priest in Forelhost and to bring back his Mask. |
| 60 | (If Valmir was not killed)
I have defeated the dragon priest, Rahgot, and taken his Mask. I should return with it to Valmir.
|
| 70 | Valmir has betrayed me and has been tricking soldiers into the ruins. He must die.
|
| 100 |
|
| 110 |
|
Gallery[]
")
")
")
")
")
")
Trivia[]
- Killing Valmir upon meeting him incurs a bounty, but since nobody is around, there is no consequence involved. Killing him when one meets him will neither fail nor start the quest, and the Dragonborn will be free to explore Forelhost and keep the Priest Mask without penalty. When they get the mask they will receive a notification the Quest has been completed, but it will not appear as a Journal Entry.
- The Dragonborn may obtain the word from the word wall without fighting through the tomb. Once the quest has been received, the Dragonborn can stand at the camp; the word wall is directly southwest. The Dragonborn can then head southeast and walk along the edge of the tomb wall, then at the end climb up the rocks, and then jump over to the balcony. However, the door to Forelhost Refectory cannot be opened from the balcony.
Bugs[]
|
This section contains bugs related to Siege on the Dragon Cult. Before adding a bug to this list, consider the following:
|
- In the hallways with the swinging axes, companions can get hit with the axe and get pushed into the wall and disappear.
- Captain Valmir will not talk to the Dragonborn to start the quest.
- Captain Valmir will say, "Return to me once you've obtained the staff," even though the objective is to obtain Rahgot's mask.
- During quest initiation if Captain Valmir is interrupted by a nearby hostile, attempting to speak to him afterwards will not start the quest.
- The puzzle door may not open after using the correct configuration.
- The rings to the door puzzle may show the wrong creatures.
- The rings of the door puzzle may stop moving, making it impossible to open the door.
- This can be fixed by leaving the Refectory and coming back.
- Skorm Snow-Strider's Journal may have fallen under the desk it is supposed to be on and become unreachable.
- Sometimes Valmir will appear as a member of the opposing faction to the Dragonborn. This means that he won't give the quest. The Dragonborn can still steal the keys and retrieve the mask and staff, but technically the quest will not have been started by him. When the above happens and the Dragonborn leaves the crypt, an argument will ensue with a soldier and Valmir and the quest (which only started after picking up the dragon priest's mask) will instruct the Dragonborn to kill Valmir. Often even after killing Valmir the Dragonborn is directed by an arrow beneath the surface, to apparently kill Valmir despite the fact he is already dead. When this occurs the quest is left unfinished.
- The lid on Rahgot's coffin will open, but Rahgot may not emerge from it. Instead, he will simply lay there. If the coffin is then approached in a noisy manner, such as when walking or running, he then may awaken, but otherwise, he will not move and can be killed with a sneak attack if the Sneak skill is high enough.
- The spear will not open when the glass claw is picked up.
- PC (Fix) Jump up and down on the pedestal the claw was on.
- The last swinging gate trap in Forelhost Crypt will activate, even if you are sneaking and have the Light Foot perk.
- Rahgot may not have the key or mask.