- For the lore page, see Kagrumez Trials.
The Kagrumez Gauntlet is a miscellaneous quest available in The Elder Scrolls V: Dragonborn in which the Dragonborn must complete a gauntlet of challenges known as the Kagrumez trials in the Dwemer ruins of Kagrumez.
Objectives[]
- Find Resonance Gems across Solstheim to complete the Kagrumez trials
Walkthrough[]
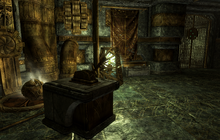
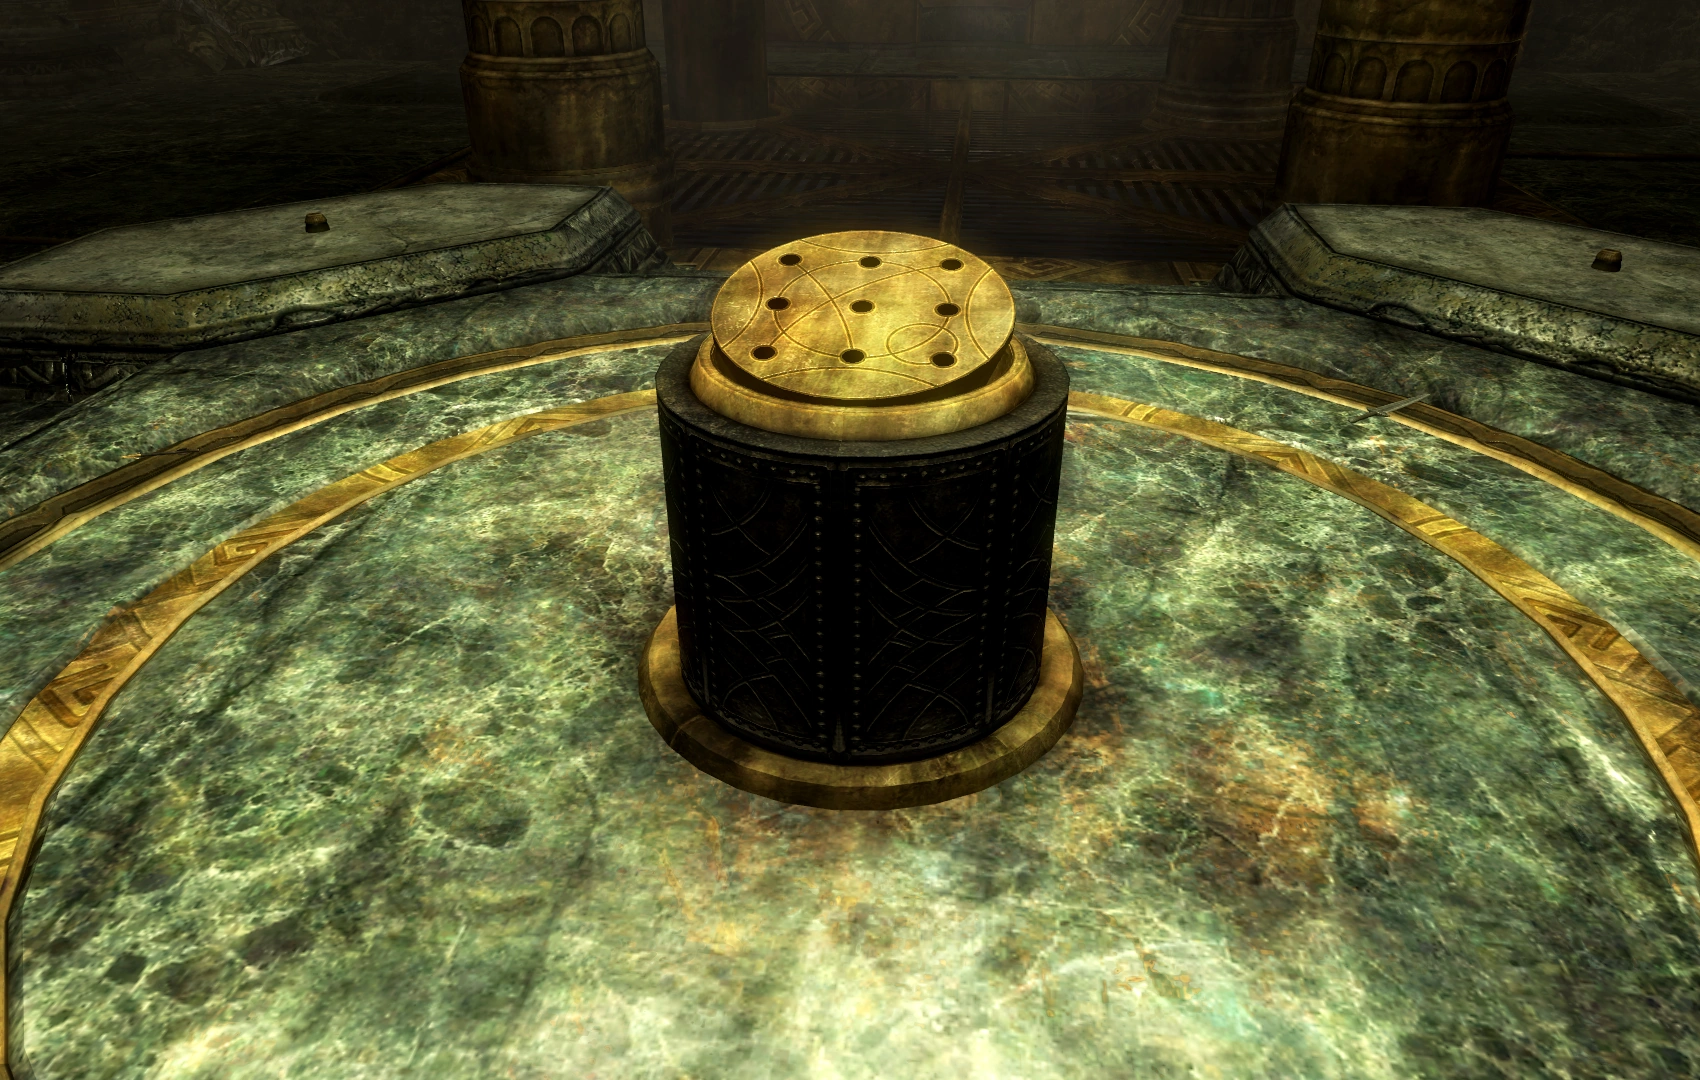
The puzzle pedestal in the main chamber.
To complete the Gauntlet, the Dragonborn must recover four of the five Kagrumez Resonance Gems on Solstheim in order to sequentially open the doorways to the three sections of Kagrumez. Two of the resonance gems are found within Kagrumez itself on the body of the leader of a group of reavers in the first chamber. The other three are located throughout Solstheim, one by a chest inside Nchardak Aqueduct, one by the Visage of Mzund in Fahlbtharz, and another sold by Revus Sarvani by the silt strider near Tel Mithryn. Sarvani's gem can also be pickpocketed or looted from his corpse.
First pattern[]


The solution on the first door.
After proceeding into Kagrumez, the Dragonborn will open the door to and enter the main chamber where there will be three reavers talking to themselves, with one saying "Maybe we should come back with more men. We don't know how many of those things will come out." Another will reply "Nonsense. A few Dwemer Spiders will pop out, we kill them, and the Treasure of Kagrumez will be ours!" The reavers must be killed to begin the gauntlet.
Upon the puzzle pedestal are nine slots in which the gems may be inserted. To the left of the front of the pedestal is a locked door and a pattern featuring two of the nine circles glowing, and this pattern must be replicated on the pedestal to open the door. Once a gem has been placed in the center-left and bottom-right slots, the floors and walls of the chamber will shift and deploy Dwemer automatons that must be destroyed. After the automatons have been destroyed the locked door will open and, inside the next chamber, a lever will deploy a friendly Steadfast Dwarven Spider that can act as a companion for the Dragonborn and behave like any other pet.
Second pattern[]
The Steadfast Dwarven Spider and the solution to the second door.
In the same room as the Steadfast Dwarven Spider will be a second locked door with a puzzle featuring three glowing indicators for the placement of the gems. Return to the pedestal in the main chamber and place the gems appropriately: one in the top-center slot, one in the bottom-center slot, and one in the bottom-right slot. Once the gems have been correctly entered, the floors and walls of the chamber will again shift and deploy Dwemer automatons. The automatons will be more numerous and powerful and are accompanies by fire traps. After the automatons have been destroyed, the traps will deactivate and the second door will open. Inside the next room will be a lever to deploy a Steadfast Dwarven Sphere which, like the spider, will act as a pet. The Dragonborn cannot have both the sphere and the spider following as pets, only one at a time.
Third pattern[]
The Steadfast Dwemer Sphere and the solution to the third door.
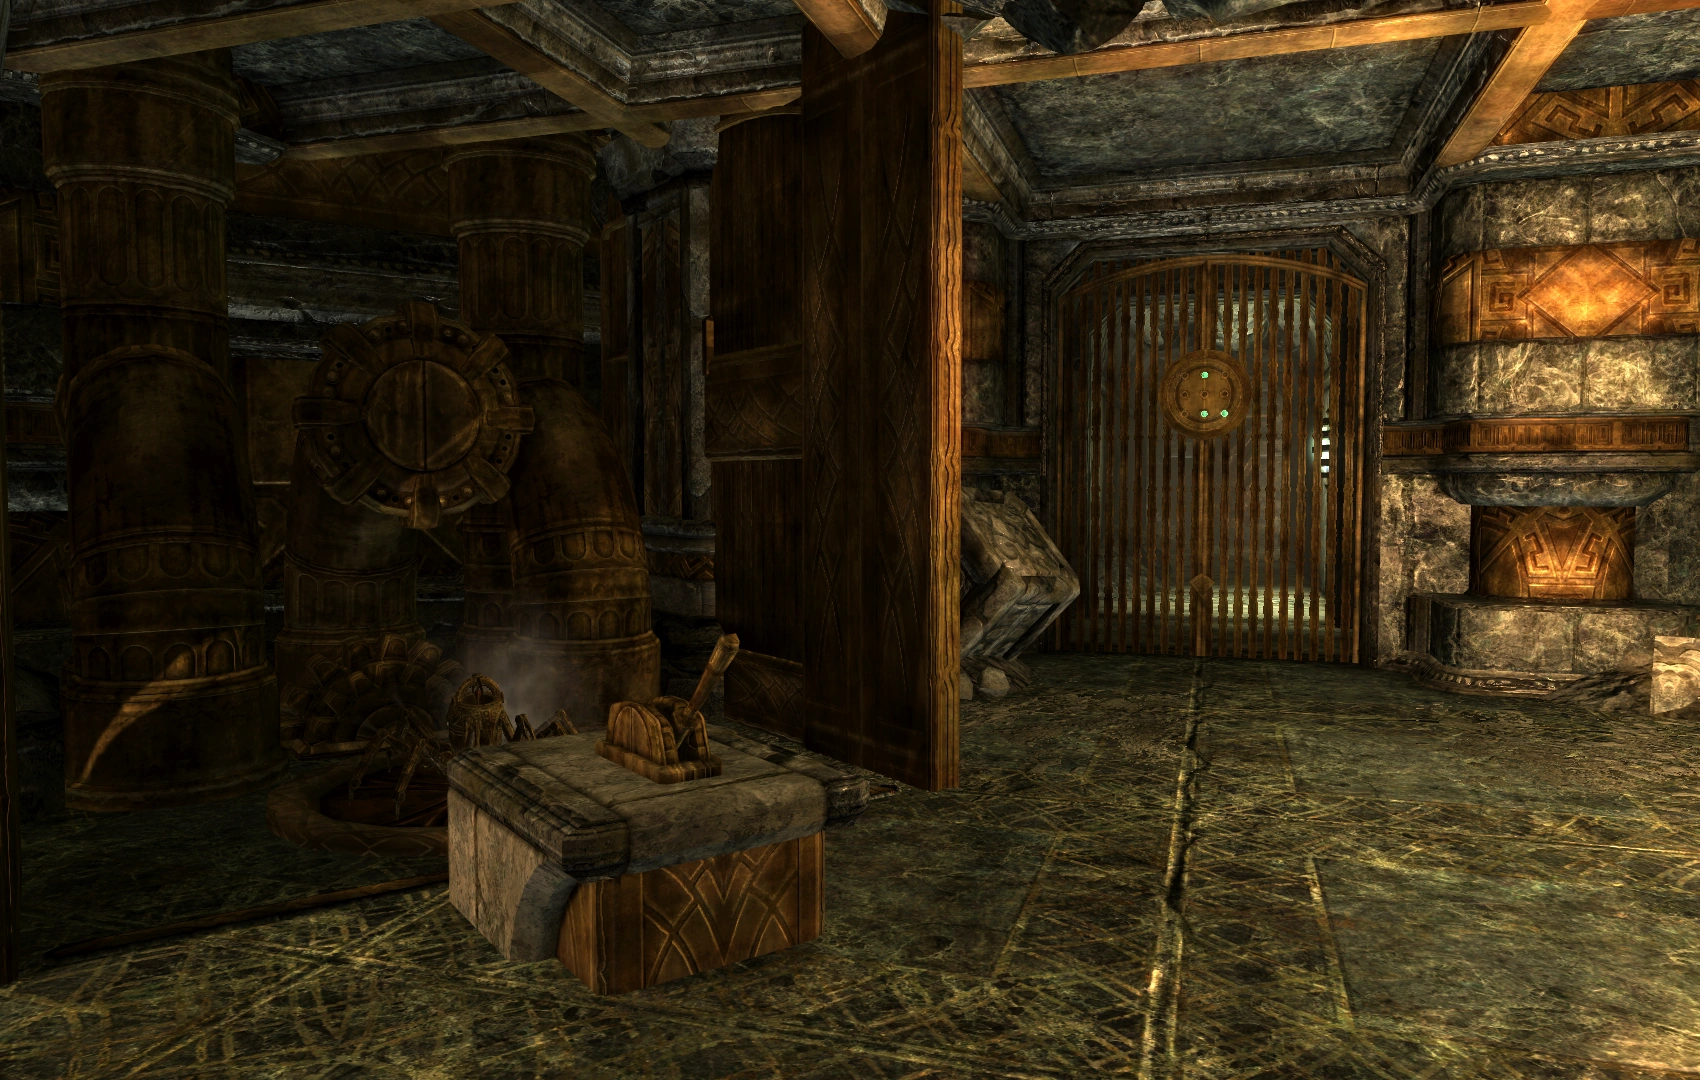
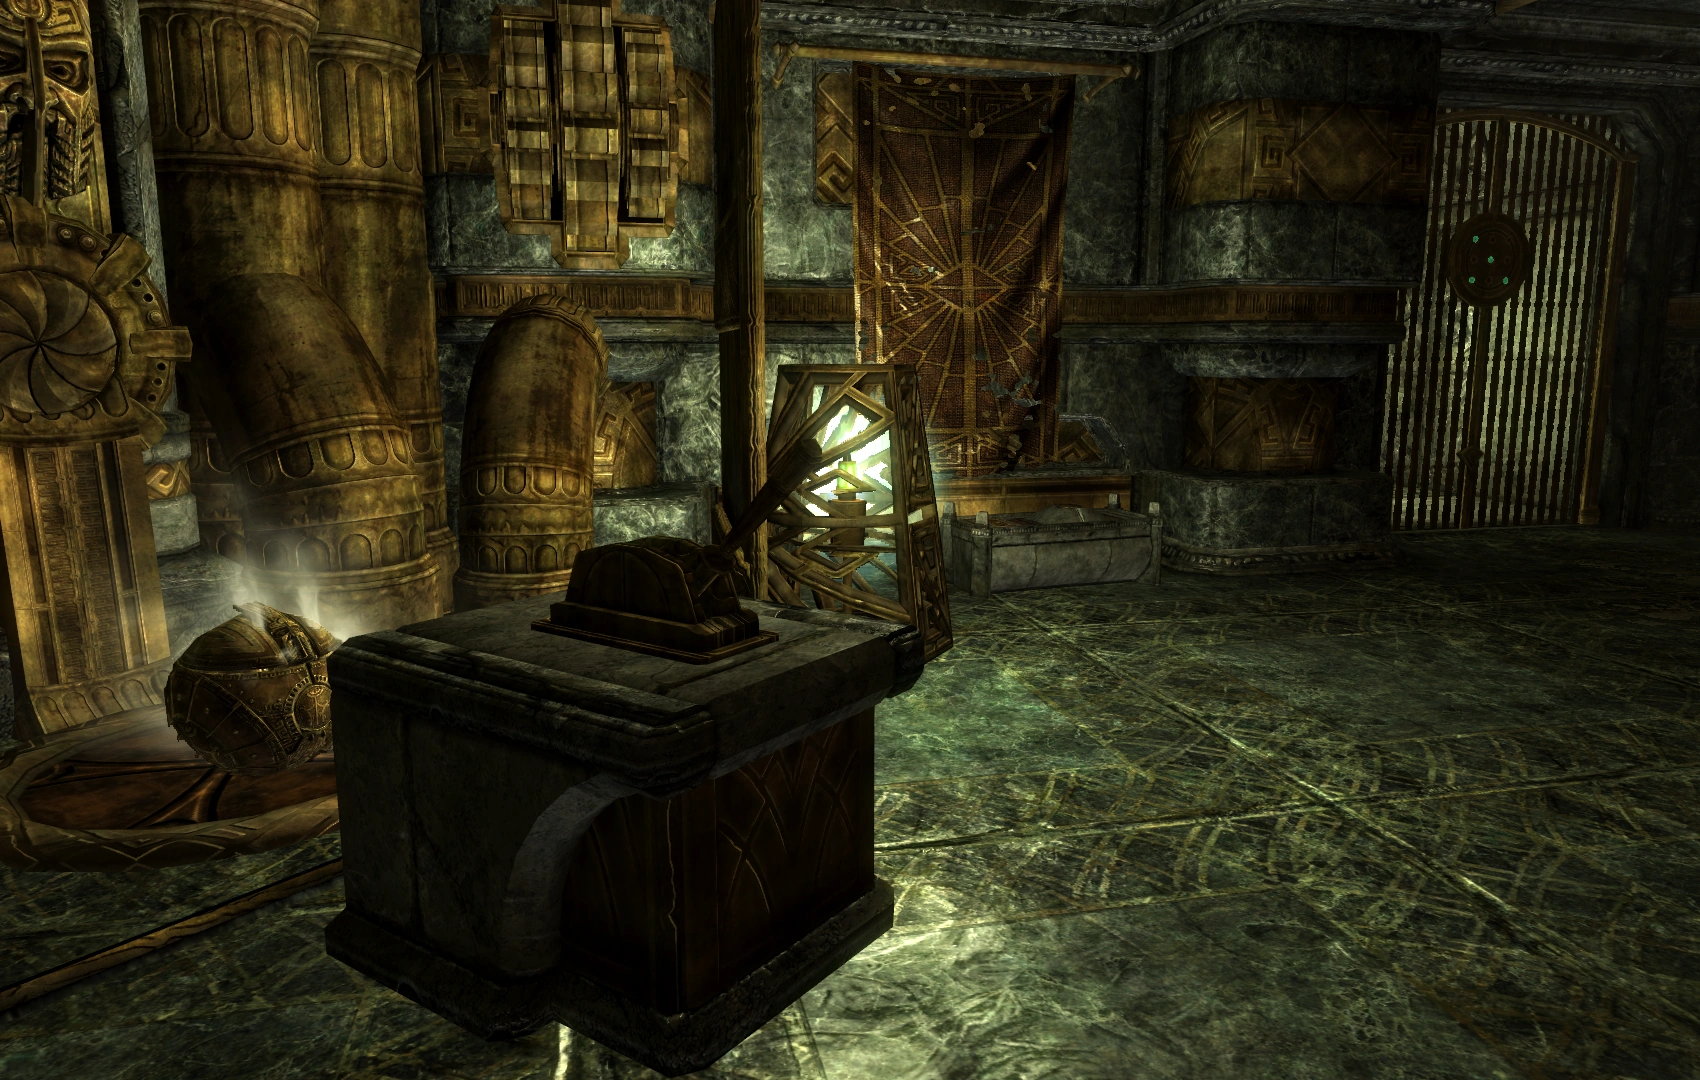
On the locked door in the second room will be the pattern to open it on the puzzle pedestal. The final round of automatons will deploy when four of the gems have been inserted into the top-left, bottom-left, center, and bottom-right positions. When the chamber has rearranged itself, much of it will covered in a shallow pool of water that is electrified and will deal shock damage. The water can be avoided by staying on one of the several platforms above the water. The Dragonborn can used ranged attacks to dispatch the automatons on other platforms or engage in melee after moving to the other platforms by taking the damage or using Whirlwind Sprint. Once all of the automatons have been defeated, the room will return to normal and the third and final door will be open. In the final room is an assortment of loot and a unique bow, the Dwarven Black Bow of Fate. A passageway in the room serves as a quick exit from a balcony above the main chamber.
Journal[]
| The Kagrumez Gauntlet – DLC2KagrumezQST | |
|---|---|
| ID | Journal Entry |
| 10 |
|
| 250 |
|
Trivia[]
- A fourth door can be found in the Creation Kit; apparently all five Resonance Gems were to be used to unlock it. The gem pattern shown on the door is: bottom-left, center-left, center, center-right, top-right.confirmation needed