- "Kud-Ei is a member of Bravil's Mages Guild. She put the word out that a good friend of hers went missing. She's offered a reward, but as far as I know, nobody's taken her up on the offer. Not sure who's missing either, she's keeping quiet about it. I suppose if you're interested, you could head over there and ask Kud-Ei yourself."
- ―Citizens of Bravil after being asked about Kud-Ei[src]
Through a Nightmare, Darkly is a quest in The Elder Scrolls IV: Oblivion. Kud-Ei asks the Hero to help free her friend Henantier, who is trapped. If they agree, they are led to Henantier's house, where Henantier is asleep.
Walkthrough
Kud-Ei explains that Henantier created a "Dreamworld Amulet" that would allow him to enter his Dreamworld; he believed that he would be able to train himself by doing so, as he would control the content of this world.
However, he has not awoken for three days. The Hero must wear the Dreamworld Amulet and sleep in the bed next to Henantier's in order to enter the Dreamworld and free him.
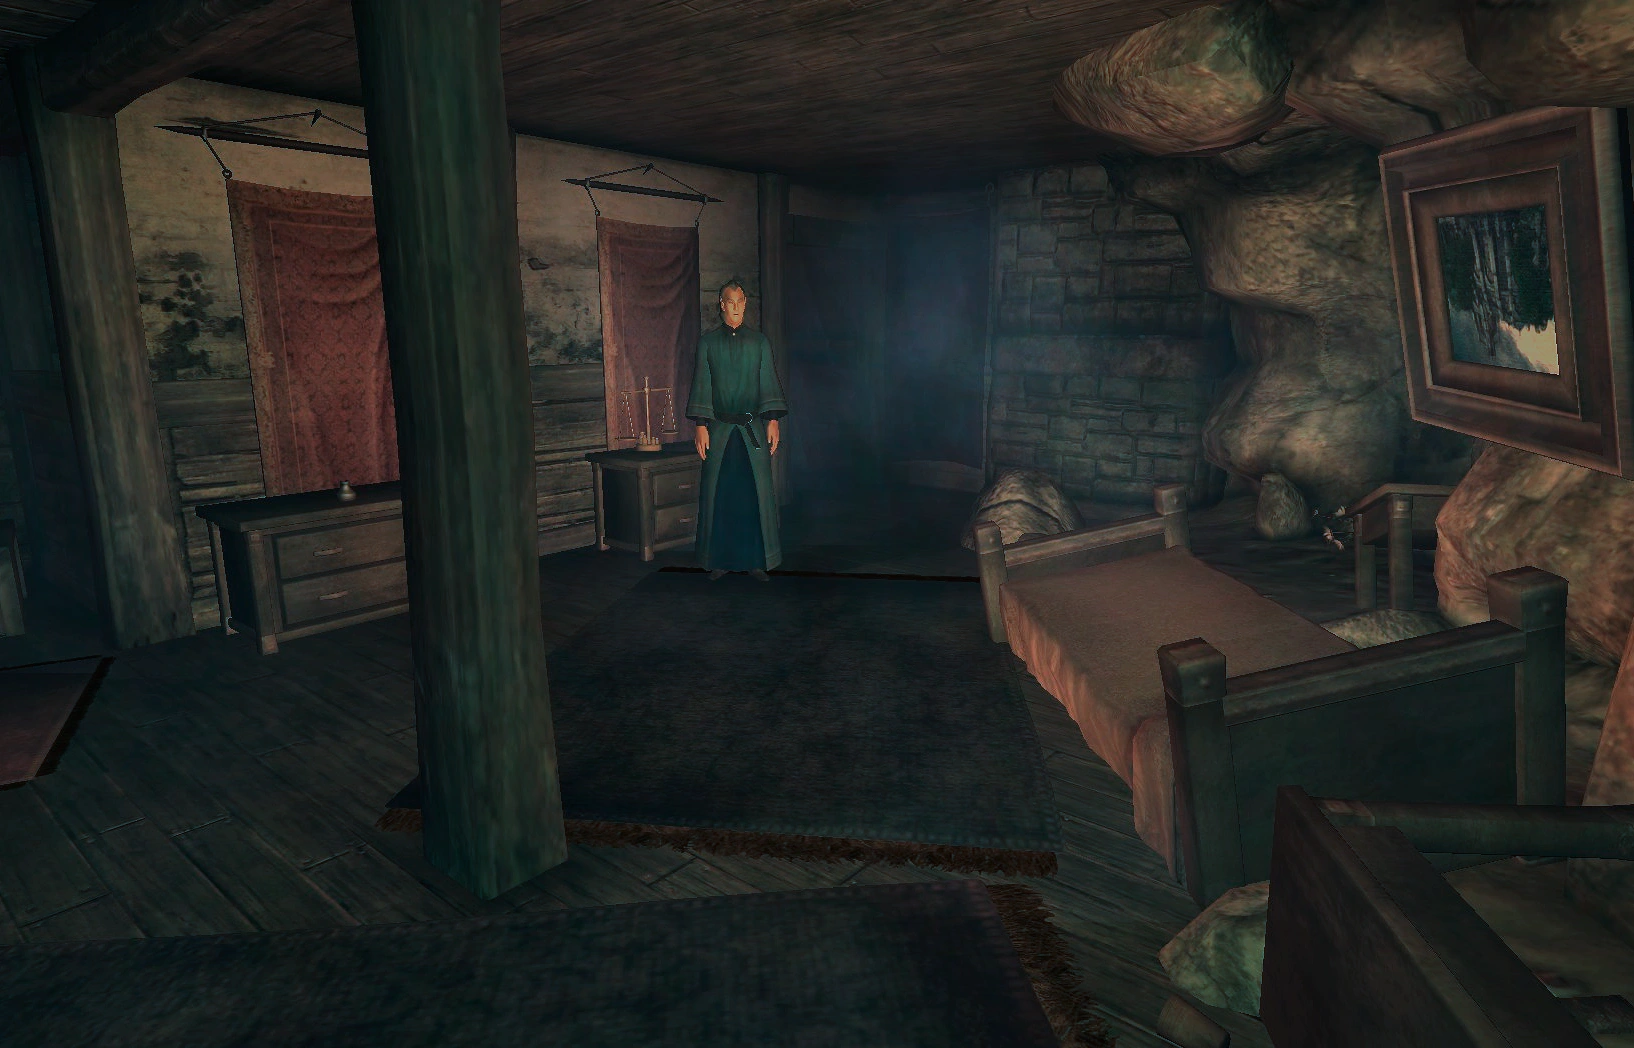
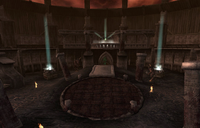
Henantier in his dreamworld
Inside the dreamworld, they have no inventory (although there are items scattered about which can be picked up and used). In addition, they are also silenced and cannot use magic. The dreamworld takes the form of a disheveled version of Henantier's house, in which Henantier is standing in a confused state.
There are four exits to the house, each leading to a test. There is no specific order in which the tests must be completed. However, if the player wants armor to protect against the traps in the other tests, they may want to complete the Test of Resolve first.
Test of Patience

Test of Patience
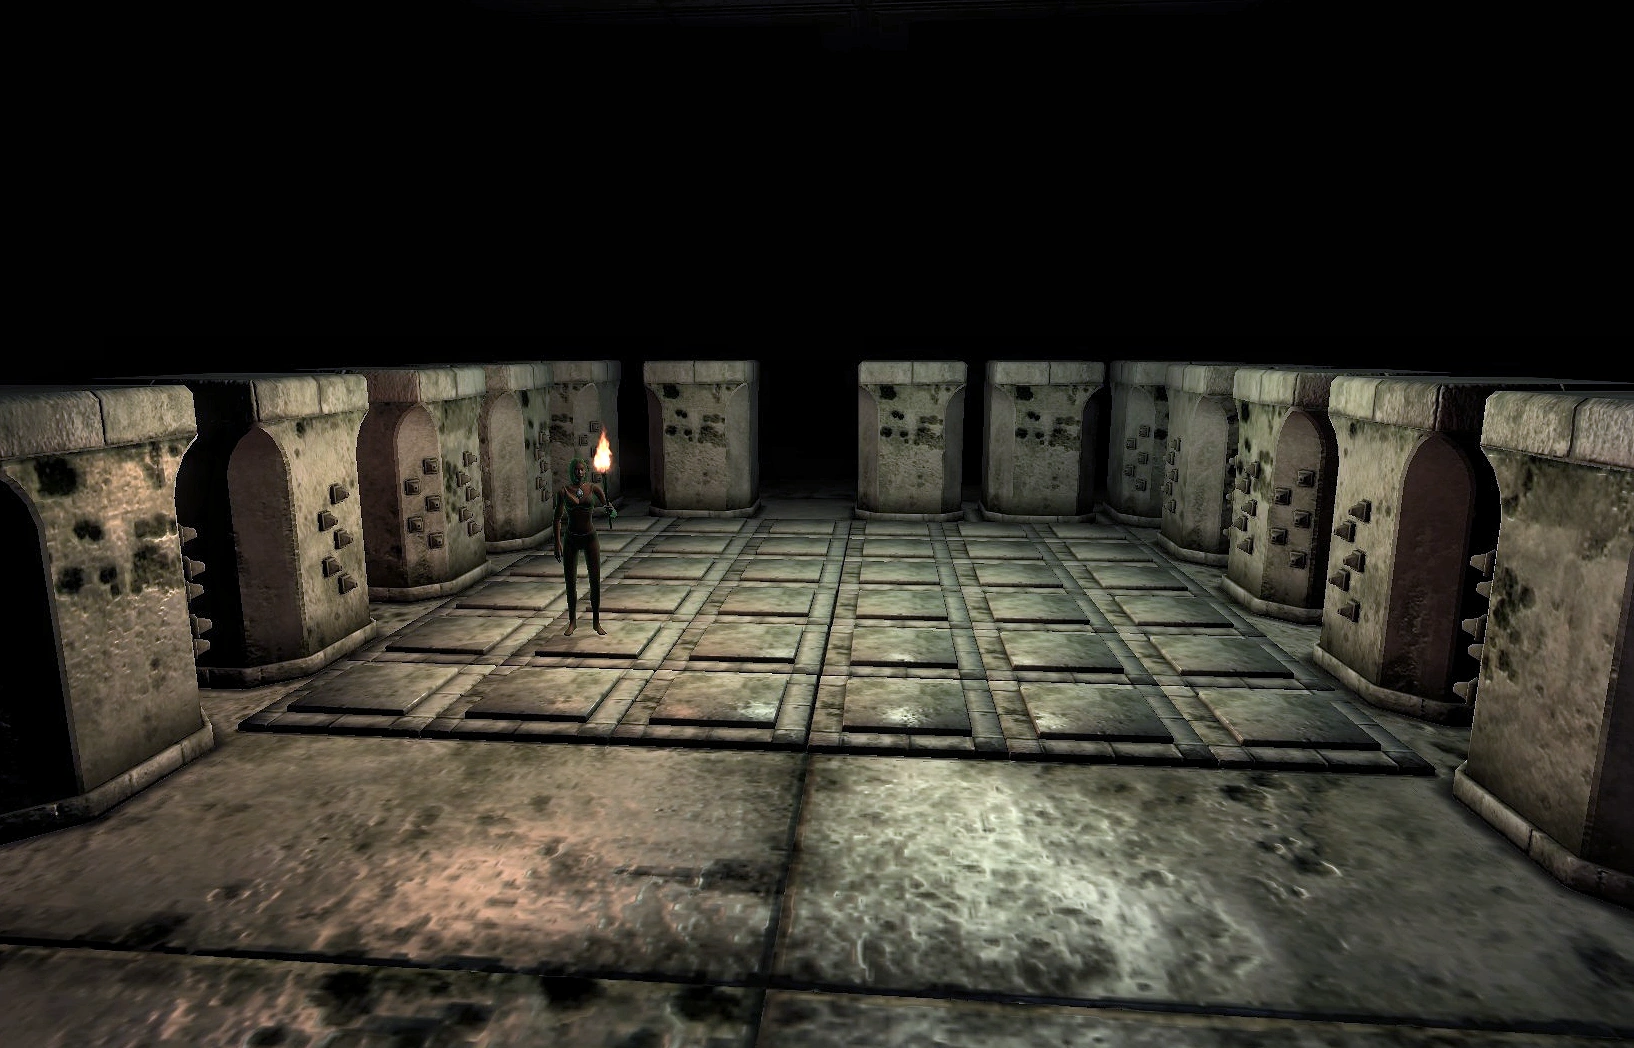
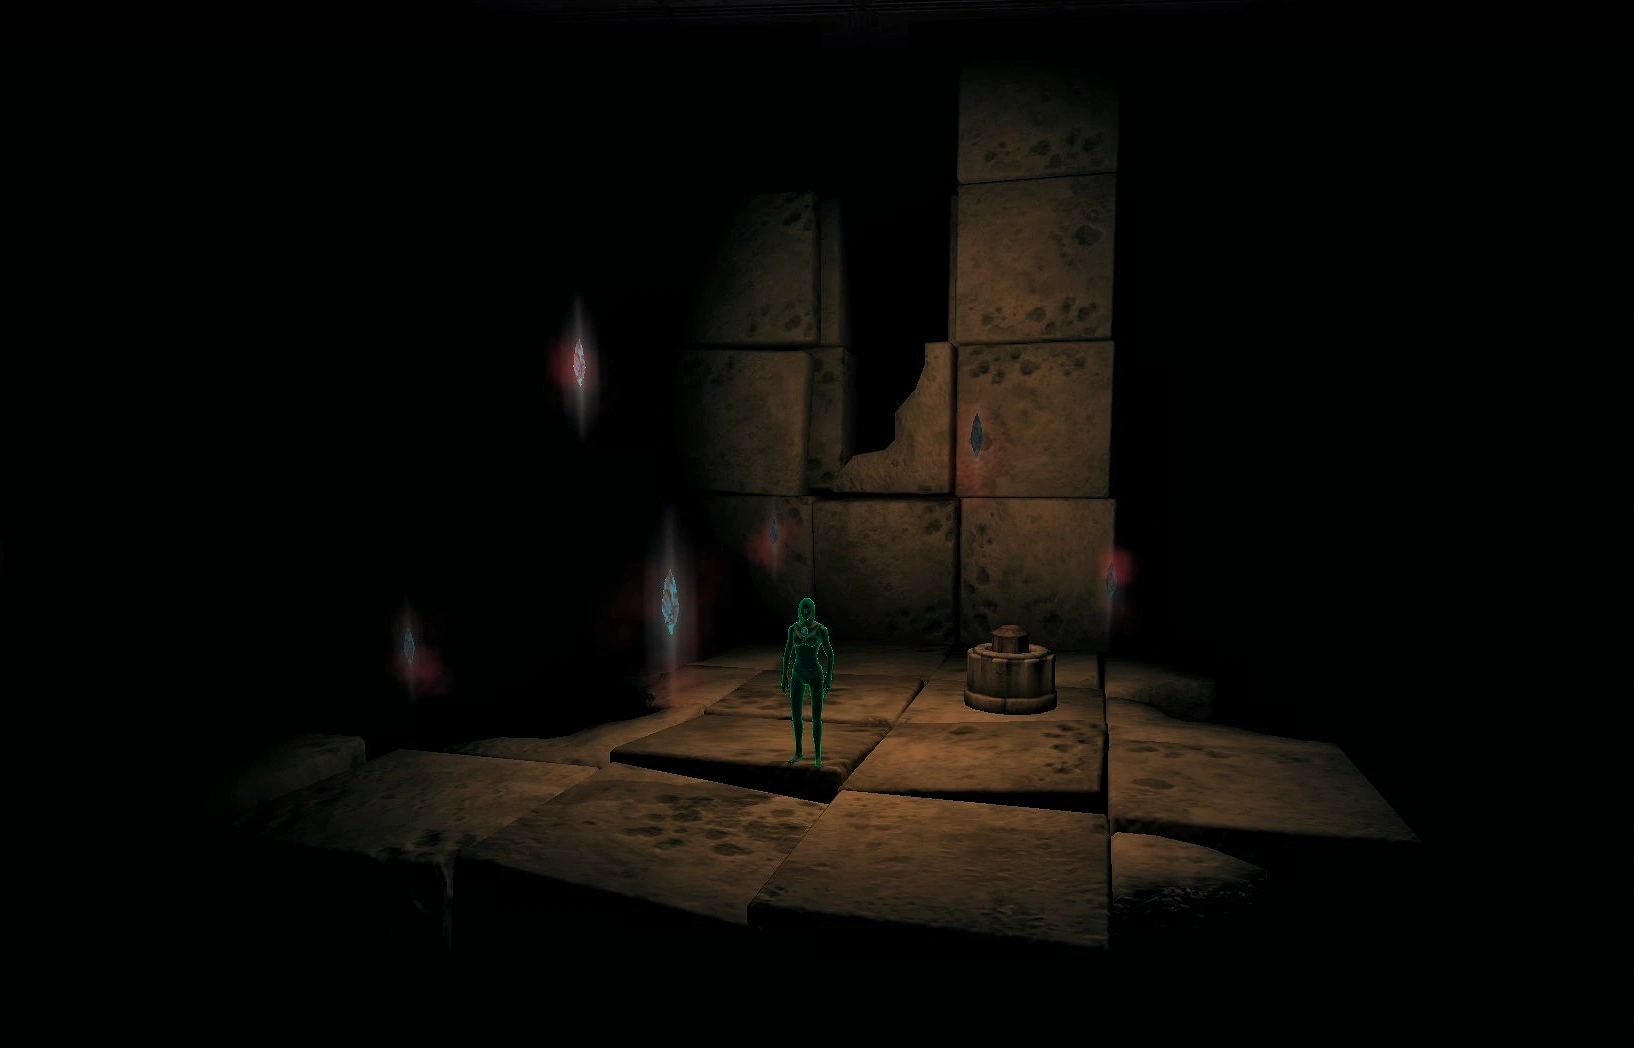
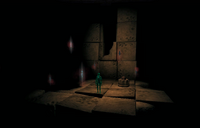
The Test of Patience requires the Hero to figure out the same route across some trapped pressure plates.
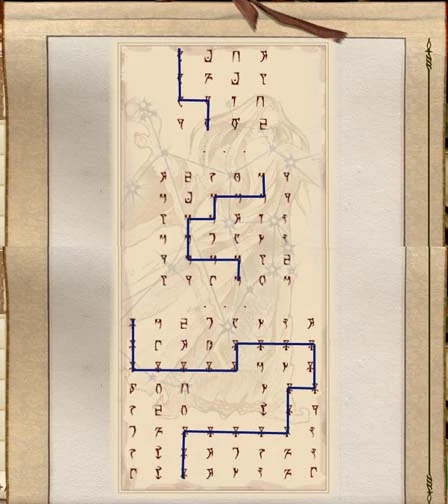
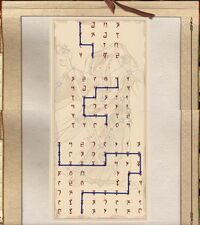
Upon entering the test, they are transported to a walkway suspended in darkness. In front of them is a reader which contains a Mysterious Scroll. On this scroll are three patterns of Daedric letters. Continuing along the walkway, they find a grid of stone pressure plates. Using the scroll as a guide, they must find the proper path across the plates.
The paths revealed. Note that for each section, head from the bottom to the top.
The top of the scroll displays the solution to the first set of pressure plates, the middle displays the second, and finally the third solution. The first plate where they enter will be signified on the scroll by a certain character.
The Hero can only step onto one plate at first. Counting the plates on the ground will reveal which symbol represents that plate on the scroll. They must cross the grid by stepping on each of the plates represented by this symbol, or they take damage from several traps around the grid. The process is the same for the next two grids.
Note that with high Acrobatics, it is possible to jump across the majority of each grid. It is also quite possible to simply sprint across each grid and "wait out" the damage afterward. The traps do far more damage than their real world counterparts, so be sure to grab the healing potions from the container downstairs before beginning the quest if attempting this method.
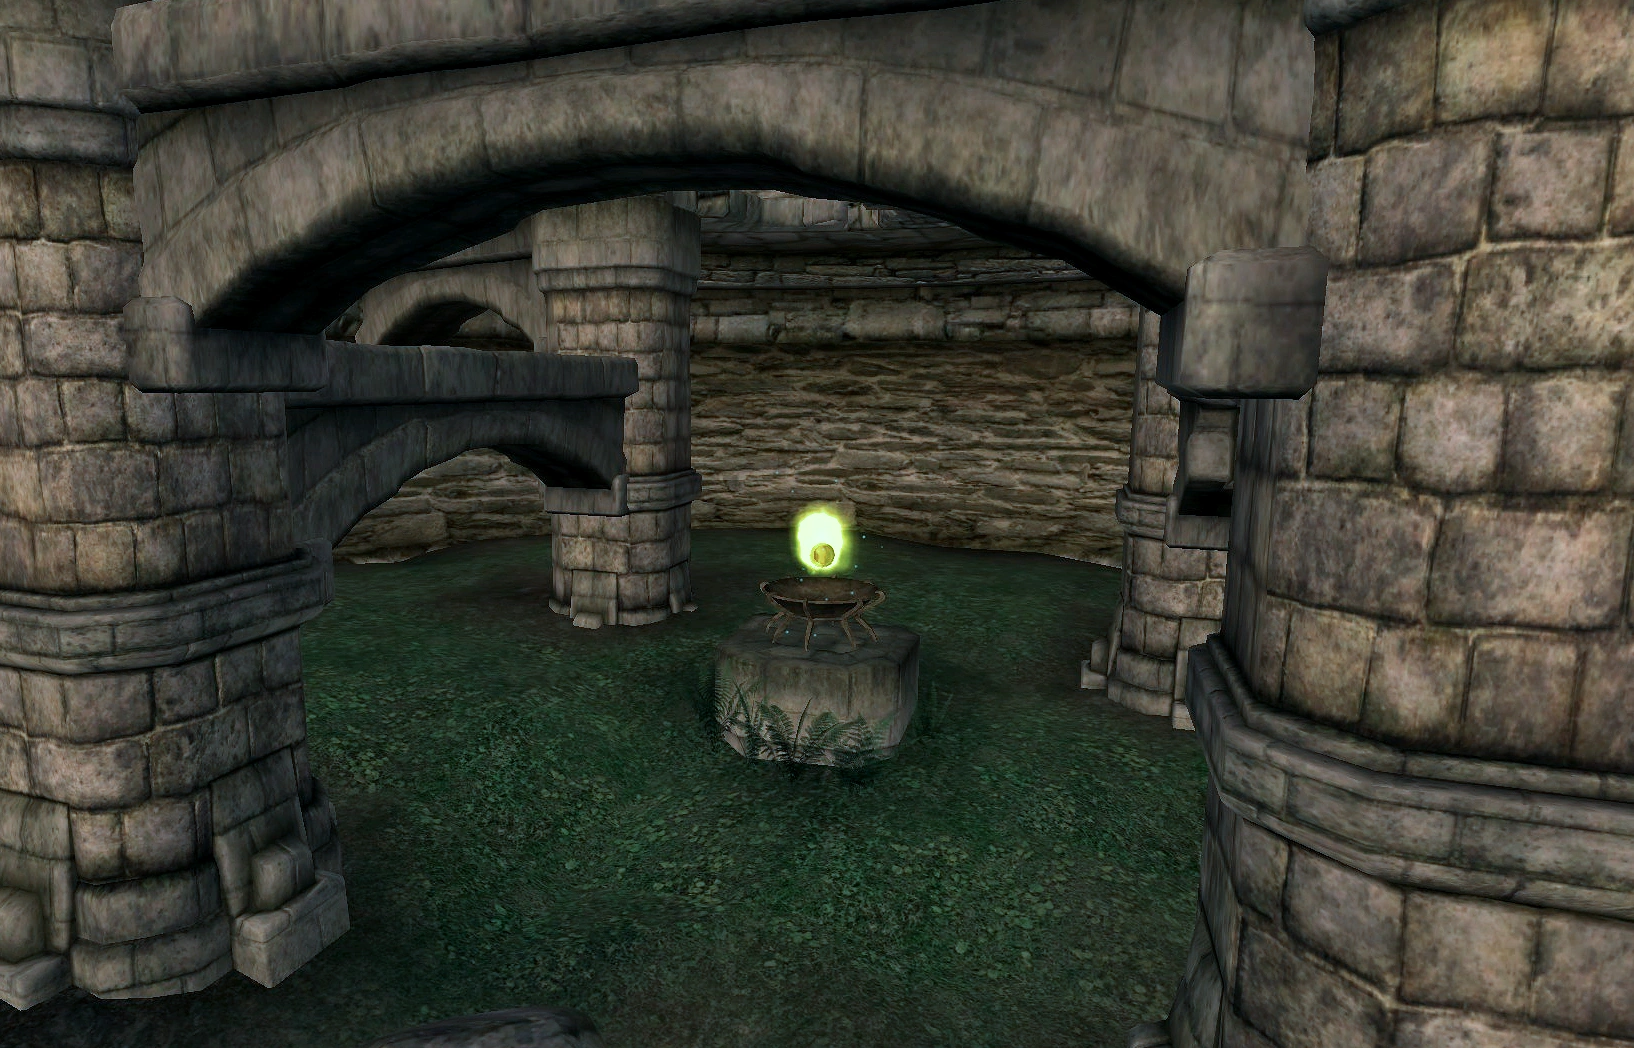
After solving the puzzles, retrieve the Element of Patience at the end of the walkway. This will teleport the Hero back to Henantier.
Test of Perception
The Test of Perception tests the Hero's ability to recognize the presence of traps. They are teleported to another floating walkway. The reader in front of them contains a torch, equip it.
Test of Perception
Travel along the walkway, using the torch's light to detect and avoid the pressure plates that trigger various traps. Note that stepping on a plate will not actually fail the test. The Hero can simply activate a pressure plate trap and back up; falling rock traps will be avoided altogether by doing this, while dropping blades will swing in a sequence and can be easily avoided by careful timing. On the last part of the walkway, simply avoid the pressure traps by jumping to the smooth stones.
At the end of the walkway, retrieve the Element of Perception.
Test of Courage

The Grotto of Courage
The Test of Courage tests the Hero's willingness to swim underwater for long periods of time. Grab the Weak Potion of the Sea in the reader. Then, swim through a long underwater tunnel, using the potion to avoid drowning. It is best to use the potion while swimming, once the air meter starts to get low. The potion will refill the meter and prevent it from dropping, maximizing the time the Hero can spend underwater. There is another water-breathing potion around halfway through the tunnel, though using the first potion in the manner described above should render it unnecessary. Note that wearing the armor acquired during the Test of Resolve will slow the Hero's swimming speed, increasing their reliance on the potions.
If the Hero is Argonian, they are still able to breathe water and this test will pose no challenge.
At the end of the tunnel is Grotto of Courage, which holds the Element of Courage.
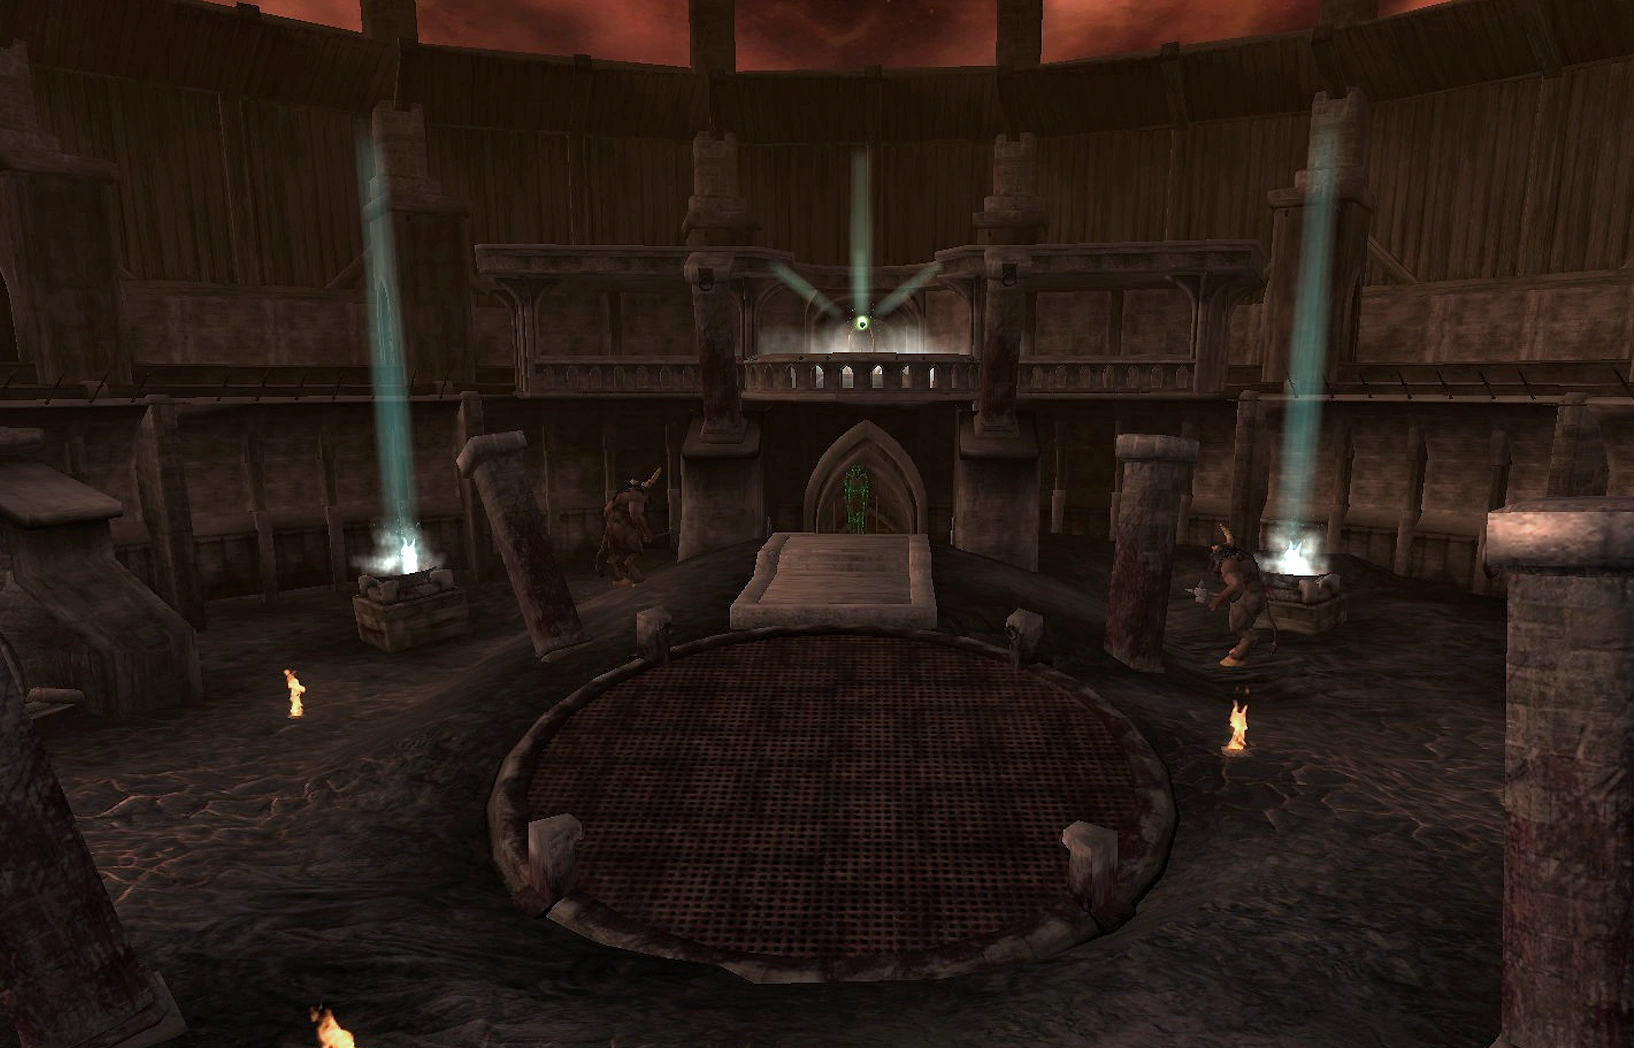
Test of Resolve
Test of Resolve
Before entering this test, be sure to take the healing potions in a cupboard to the left of the doorway.
The Test of Resolve tests the Hero's strength and power. It takes place inside what looks like the Imperial City Arena (although the yellow team's gate has been blocked). The reader contains a staff, a blade weapon, and blunt weapon (all of which vary depending on the Hero's level), and full sets of light and heavy armor (also level-dependent).
It is recommended to save the game at this point. Once equipped, enter the Arena. The gate shuts and two Dreamworld Minotaurs spawn, and must be killed. This can be an extremely difficult fight without the Hero's normal inventory. Disarming both of them helps. If the fight still proves difficult, the staff is recommended as the weapon of choice. Since the Minotaurs only have melee attacks, the Hero can run backwards around the arena while blasting them with the staff from outside their range. An alternative method is to allow the Minotaurs to spawn, then quickly retreat back toward the door before the gate closes. The Minotaurs are too big to fit in this hallway, and can be easily killed with the staff. Be careful though, as if one get too close to them, they can sometimes push their way into the hall. Is may also be possible to jump onto the sidelines of the Arena, and fire at the Minotaurs from outside their reach.
Once both Minotaurs have been defeated, stairs raise up from the ground and it is possible to complete the Test.
Completion
After collecting all four Elements, return to Henantier. He will transport the Hero and himself out of the Dreamworld, and the Hero's inventory will be returned. Their reward will be a few scrolls, such as Heroic Touch, or Fortify Magicka.
Journal
| Journal Entry |
|---|
I've heard that Kud-Ei at the Mage's Guild in Bravil is searching for assistance in locating a missing friend. A reward is being offered, so I've decided to find out more information. |
I've spoken to Kud-Ei of the Mage's Guild in Bravil. It seems that her friend, Henantier isn't missing after all, but trapped somewhere and Kud-Ei needs my help in liberating him. Kud-Ei said to return to her when I'm ready and she'll take me to him. |
Kud-Ei has explained that Henantier has become the victim of his own creation, the Dreamworld Amulet. He's trapped inside his own dreams, and I'll need to put on the amulet and go to sleep to enter Henantier's dreams and hopefully retrieve him. When I'm ready to do this, I should speak to Kud-Ei, who will prepare me for the journey. |
Kud-Ei has explained that Henantier has become the victim of his own creation, the Dreamworld Amulet. He's trapped inside his own dreams, and I'll need to put on the amulet and go to sleep to enter Henantier's dreams and hopefully retrieve him. When I'm ready to do this, I should speak to Kud-Ei, who will prepare me for the journey. |
Kud-Ei has given me Henantier's Dreamworld Amulet. I need to enter his dream by going to sleep while wearing the amulet. Kud-Ei also warned me that if Henantier is slain in the Dreamworld while I'm there, I'd be killed as well, so I must be careful. |
I've entered Henantier's Dreamworld. To my surprise, I've arrived naked except for the Dreamworld amulet! Not only am I unarmed, but also I've discovered that the amulet is preventing me from using any magic. I'll have to explore this strange place in hopes of finding something to defend myself with. |
I've located Henantier. He seems awfully confused and doesn't understand where he is or how he got here. He did mention he lost some things. Perhaps they're keyes or clues explaining how to exit this bizarre place. I have no choice but to explore the recesses of his Dreamworld and find these objects. |
I've located the Element of _______. This must be one of the things Henantier misplaced. Losing this attribute of his mind must be what's making him so confused. If I can find all of the elements, and bring them back to him, it should restore Henantier's sanity and help him awaken. I should continue searching for other elements if I ever intend to leave this waking nightmare. |
I've located the Element of ________, the second Element to be found in Henantier's Dreamworld. I should continue searching for more elements. |
I've located the Element of ________, the third Element to be found in Henantier's Dreamworld. I should continue searching for more elements. |
I've located the Element of ________, the final element in this bizarre amalgam of Henantier's dreams. I should bring all four elements to Henantier and try to restore his sanity. |
After giving him the four Dreamworld Elements, I've succeeded in convincing Henantier he was in a dream, and we've returned to the real world. I should speak to him now that we're back. |
Henantier has thanked me for saving him. As a reward, he's provided me with some of his magic scrolls.
|
Trivia
- Note that if the quest "Bravil Recommendation" is active, Kud-Ei will not give the Hero the amulet until the quest is finished.
- Even if the Hero is also the Arch-Mage, Kud-ei will not alter her dialog and will still talk about things that Henantier has done that will get him thrown out of the guild.
- If the Hero has previously murdered someone or killed Rufio, Lucien Lachance will appear in the dream world.confirmation needed
- The title is a reference to 1 Corinthians 13.
Bugs
|
This section contains bugs related to Through a Nightmare, Darkly. Before adding a bug to this list, consider the following:
|
- PC 360 Kud-Ei may not take the Hero to Henantier's House, so the quest cannot be started.
- If wearing the Boots of Springheel Jak when going to sleep for this quest, it will remove them, but their 50-point Acrobatics bonus will become a permanent effect. After the quest, the boots cannot be put back on or dropped.
- The Ring of the Vipereye is affected by the same bug.
- If the Hero has obtained the quest object Honorblade of Chorrol and hotkeyed it, they can use the hotkey to draw the Honorblade in the Dreamworld.
- Attacking Henantier while he is asleep will cause him to fall off the bed, wake up, and then go to sleep again. However, in the few seconds he is awake, he cannot be engaged in conversation.
- Looking at the world map while in the Dreamworld will indicate that the character is somewhere deep in the West Weald forest. This is the 0,0 coordinate on the map of Cyrodiil, and is the default position when the character is in another "world" separate from Tamriel, such as inside an Oblivion Gate. This does not include the Shivering Isles, which has its own world map.
- Attempting this quest while in the Shivering Isles may bring up the "I HAVE NO GREETING" glitch. Since there is no way to talk to Henantier, the quest cannot be finished. Returning to Cyrodiil and beginning the quest again will allow its completion.
Appearances
| Imperial City | |
|---|---|
| Anvil | |
| Bravil |
|
| Bruma | |
| Cheydinhal | |
| Chorrol | |
| Kvatch | |
| Leyawiin | |
| Skingrad | |