Background
Walkthrough
Freeing Odahviing
The only way to reach Sovngarde's portal is to fly on Odahviing. Freeing him can be done by talking to a guard, located on the second floor of the Great Porch, who will pull the chain. The trap can also be released by the Dragonborn pulling the chain. Odahviing will then propose to carry the Dragonborn to the Jerall Mountains. Followers cannot accompany the Dragonborn to Skuldafn. However, if Bound Until Death has been completed, the Spectral Assassin can be summoned to use as company. If the Assassin dies or disappears during the quest, he can be summoned again at least one day later, even if he is so far away as outside the actual Skyrim world. Beware that, once Skuldafn is reached, there is no turning back, as fast travel is impossible.
Skuldafn Temple's Courtyard
Odahviing leaves the Dragonborn on a small area west of the Skuldafn temple. As soon as the Dragonborn arrives, it is likely that they will encounter a leveled dragon. Draugr will also be guarding the temple and must be dealt with or sneaked past. The path crosses a bridge to the east, proceeds under an arch, then turns south. Another dragon will be likely waiting further ahead.
The first of two optional areas (Skuldafn South Tower) is straight ahead to the south. It contains random treasures and draugr. The courtyard turns to the left (east) and climbs up a set of stairs to the second level. There are many leveled draugr waiting above, positioned at high vantage points throughout the courtryard area, which makes this area challenging to get through. Just beyond the top of the steps are two archways that lead under a bridge. Beyond that, Skuldafn North Tower can be seen in the southeast corner of the courtyard, on the third level, but it can't yet be reached because there is a relatively sheer wall that can't be climbed.
The path through the courtyard turns left (north), besides the path that hugs the wall in the right, there is a doorway to a short tower on the left. A set of wooden steps inside the tower lead up to a second floor with a chest, otherwise the tower is a dead end. Back outside, the path north leads to another two archways under a bridge, then to a set of stairs that finally lead up to the level of the bridges (the third level) and then on to the fourth (top) level. At the landing between the two halves of the stairs, it is possible to turn left (west), then left again (south) and walk along a ledge that leads to the bridges previously walked under.
The first bridge encountered (the second one walked underneath) leads east to a ledge that runs north and south. To the north is the landing previously encountered. To the south is the main body of the upper courtyard, with Skuldafn North Tower ahead against the left (east) wall. This tower contains more draugr and chests.
There are three other sets of stairs leading up from this third level. The stairs to the northeast, and the stairs that are found by staying to the right and walking around to the west side of the third level, lead up to the fourth level of the courtyard, which is the level of the temple itself (this can also be reached by simply continuing up the stairs from the landing noted earlier). Another set of stairs from the south side of the third level leads to a table with a chest on it that contains nothing but some gold.
A treasure chest is located to the left (west) of the temple's entrance, around the corner on a ledge, which only holds some gold.
Skuldafn Temple
The temple itself begins in a large area with a huge column directly ahead (north). To the right is a table with embalming gear and several potions. To the right of the column is a chest containing minor loot, while a dart trap protects the path on the left side. There are several leveled draugr to deal with. On the north side of the column is a table with six urns (three on each side).
From there, two sets of stairs lead further north to the first puzzle room, which is guarded by several lower-level draugr. This puzzle is made of three pillars with three sides each: the first depicting a bird, the second a snake, and the third a whale. A lever is just north of the pillars. Two different combinations each open a different gate. The gate to the right (against the east wall) opens to a treasure chest, while the one to the left (against the west wall) opens the way to the rest of the temple. When looking at the puzzle from the lever, the left pillar's wall-facing side (i.e. its left side) should depict a snake (facing the matching plate on the wall), while the right pillar should have a whale facing the other wall with the matching plate. The center pillar dictates which gate opens. The bird opens the right gate, while the snake opens the left gate. Standing at the lever facing the pillars, this is what should be seen:
[Bird] [Bird] [Bird]- opens right gate
[Bird] [Snake] [Bird] - opens left gate
The direction the lever points makes no difference. Simply activating it, regardless of its position, will open or close the gate corresponding to the center pillar's position.
The path through the left gate proceeds up stairs, then turns left (west) where there are more stairs up. The path leads to the upper level of a medium-sized two-level room with several draugr at the bottom of wooden ramps leading down. A table supports the corpse of a draugr and several urns, while between the ramps is a chest. Through a narrow opening to the west is a web-covered crypt area that leads to the right (north), where three frostbite spiders are at the top of a ramp. The path turns right (east) and leads through a web-covered doorway that needs to be cut. Beyond that, the path turns back left (north), where another spider is found guarding a short set of steps up. At the end of a short hall, the path again turns right (east), leading up another set of steps to more spiders and an iron door. There is a chest buried under the spider web just before and to the right of the iron door, near the egg sac.
Behind the door is the second puzzle room, which is guarded by several more leveled draugr. This is a two-leveled room, where there is a log ramp leading up to the second level. The correct symbol for the pillar directly in front of the door is snake (found behind the pillar) on that side of the platform is a chest. The correct symbols for the other two pillars are above the alcoves where the pillars are located. The one on the second level to the right is bird, and the one on the second level to the left is whale, then activate the lever on top of the central platform, dropping a drawbridge leading to a door to another part of Skuldafn Temple. The puzzle can be bypassed by using the Whirlwind Sprint shout while on the platform near the lever, or by jumping across.
Beyond the door, the path leads east, then turns north to a two-leveled room with several draugr. A table in the center of the bottom of the room holds an empty chest. Steps lead up to the north, then the path turns right (east) and leads clockwise around the room until the bridge is reached. Across the bridge is a doorway to a path leading west, then north to the base of a spiral staircase. However, a trap trigger will cause a lantern to drop onto the oil-covered floor, setting it ablaze, and also launches darts at the doorway. There are several urns and various loot around the bottom of the staircase.
At the top of the stairs is a gate to the north that cannot yet be opened, and a door to the south. Behind the door are three leveled draugr, a chest to the right, and a lever to the left that opens the gate. Through the gate is a slight upward incline, then the path turns right (east) and opens on a long hallway that is split into sections. At the end of the second section, a chest is on the right. Between the second and third sections is a trap trigger that will cause another lantern to fall on the oil-covered floor.
At the end of the hall, the path turns left (north), where the third puzzle room is found. The Dragonborn will have to face a leveled draugr or Dragon Priest. The Diamond Claw should be looted from his dead body. Like all the dragon claws, the puzzle door's key is found on the claw's palm. It is, from the top to the bottom: [Fox]-[Moth]-[Dragon]
Beyond the door, a word of the Storm Call shout is on a Word Wall found at the north end of the room. This will be the only chance to obtain this word since the Dragonborn can never return to Skuldafn.
The dragons near the portal.
Entering Sovngarde
On the roof of Skuldafn Temple, there is one elder dragon and one leveled dragon on each side of the portal, as well as four leveled draugr. By luring the draugr close to the edge of the roof, it is possible to knock them off with Unrelenting Force. If done quickly, they can be ran around while the shout recharges and be thrown off one or two at a time. The dragons will remain neutral unless provoked with Dragonrend, an attack, or transforming into a Vampire Lord or werewolf.
Directly across from the entrance to the roof (west), there is a tower with a leveled chest on the lowest level.
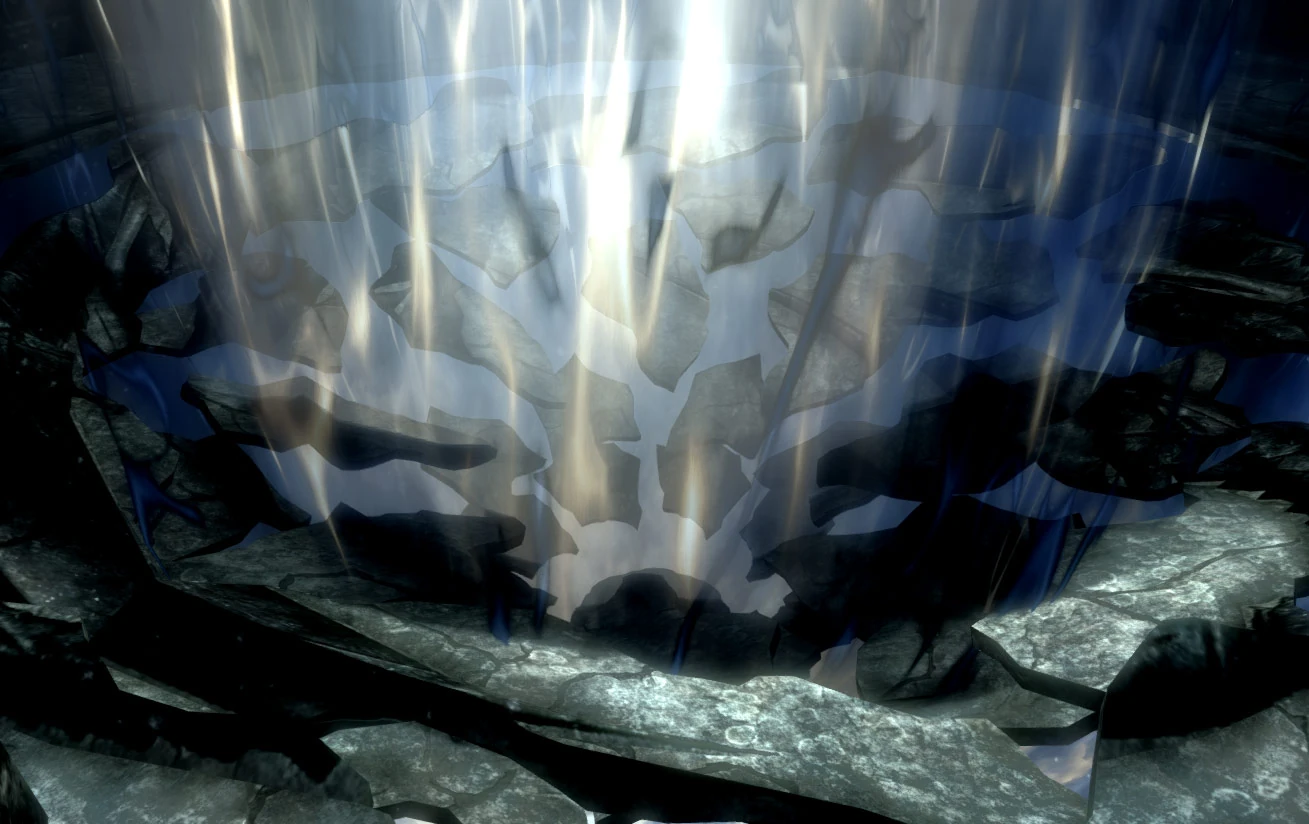
A dragon priest is just ahead of the dragons' pillars. The priest's name is Nahkriin, and his staff is the key to going to Sovngarde. After killing him, his Dragon Priest Staff can be looted from his body. This is also the only opportunity to get his mask. To enter Sovngarde, his staff must be used on the altar, before jumping into the portal.
It is possible to enter the portal without fighting Nahkriin if the Dragonborn runs to the portal before it is closed (by Nahkriin reclaiming his staff).
Tactics to defeat Nahkriin
Nahkriin can be difficult for lower leveled characters, especially those who are not resistant to frost damage. Nahkriin relies heavily on ranged attacks and will, at all times, keep his distance. In some cases, he will also cast a cloak spell and conjure a frost atronach before the fight, as a form of defense against melee-oriented foes, which means that attacks should be carefully planned. He may also cast Ice Spike, slowing the Dragonborn drastically for a short period of time, leaving them more vulnerable to attacks. Like every other dragon priest, Nahkriin wields a high-leveled staff, and having a good amount of healing potions might be necessary for this fight, and later on for Sovngarde. A few methods can be used to make the fight easier:
- The Shadow Stone can be used to turn invisible, allowing the Dragonborn to sprint into the portal before it is closed without confronting Nahkriin. An invisibility potion can also be used, or the Whirlwind Sprint shout to get into the portal past Nahkriin. This will make Nahkriin's Dragon Priest Mask unobtainable.
- Because Nahkriin will never confront the Dragonborn in melee range, he can be killed by hiding behind the pillar, near the edge of the large stairs. Nahkriin will only attack when the Dragonborn gets out of his cover. A bow can then be used to slowly decrease his health, hiding behind the pillar after every few shots.
- Nahkriin can also be lured over the edge, and charged with a melee attack, causing him to fall off the edge and die. Shouts can also be used, such as Fire Breath. This is not recommended, as then Nahkriin will have likely grabbed the staff, making it hard to enter Sovngarde.
- Nahkriin can also be sneak killed. A high Sneak level is necessary, and muffled boots are recommended. Nahkriin will appear facing the portal to Sovngarde, but, if he does not notice his foe, a sneak attack can be made. It is advised to have either the Backstab, Assassin's Blade perk, or a high Archery level with a powerful bow.
- Attacking with quick magic attacks such as Firebolt work well, then switching to melee force him to move, therefore lowering the chance of a hit from his attack. Then close the distance and use power attacks to stagger him, shouts help as well.
- Nahkriin will initially be moving toward the portal. Run past him and get between him and his staff. He can then be melee attacked till he dies, as he will not fight back until he gets his staff.
- Finally, there is a way to come up to Nahkriin and he will not be hostile, even if attacked. When coming out of Skuldafn Temple to Skuldafn there is a wooden bridge directly outside, if the Dragonborn heads to the right and climbs the rocks, it is possible to come out at the side of Nahkriin without making him hostile. With 100 sneak it will still show that the Dragonborn has been detected but Nahkriin will not attack, even if attacked, making him easy to pick off with a bow. Using this method it is not possible to get the staff however, as it will already be in place with the portal open.
- Sprint up the stairs to Nahkriin, get him in range for Unrelenting Force. With him staggered by the Thu'um, sprint towards him into melee range. Bashing and power attacks stagger him, so keep doing so before he picks up his staff.
- A quick way to kill Nahkriin is: if you have the Sanguine Rose, summon the Dremora near Nahkriin and then pick him off using a bow.
- If one has obtained Windshear, one could chain stun Nahkriin until he dies. Windshear is only obtainable if one has progressed to the end of the Dark Brotherhood quest line.
- Another tactic similar to the Windshear strategy above, is to get the "Impact" Perk for destruction magic. It is possible (with enough magicka or fast enough regen) to repeatedly stagger him with most duel cast with any magic other than Sparks, Frostbite, or Flame as they are not "power attacks" and thus do not cause stagger when duel cast.
- If you have all three words, you can use the shout Call Storm as soon as you enter the area. It will damage him and the dragons while you focus on the Draugr.
- The difficult battle can also be avoided by attacking Nahkriin repeatedly as soon as he is encountered, before he gets his staff.
Journal
| Journal Entry |
|---|
|
The captured dragon Odahviing has revealed that Alduin has escaped to Sovngarde, the Nord underworld, where he feeds on the souls of the dead. His portal to Sovngarde is located in the ancient dragon temple of Skuldafn, high in the Jerall Mountains. The only way to reach it is to set Odahviing free so he can fly me there.
|
|
|
|
The captured dragon Odahviing revealed that Alduin has escaped to Sovngarde, the Nord underworld, where he feeds on the souls of the dead. His portal to Sovngarde is located in the ancient dragon temple of Skuldafn, high in the Jerall Mountains. I set Odahviing free, and he flew me to Skuldafn as agreed. Now I just have to reach the portal. |
|
|
The captured dragon Odahviing revealed that Alduin has escaped to Sovngarde, the Nord underworld, where he feeds on the souls of the dead. His portal to Sovngarde is located in the ancient dragon temple of Skuldafn, high in the Jerall Mountains. I set Odahviing free, and he flew me to Skuldafn as agreed. I fought my way to the top of Skuldafn, and entered Alduin's portal to Sovngarde.
|
Bugs
|
This section contains bugs related to The World-Eater's Eyrie. Before adding a bug to this list, consider the following:
|
| Click to see the list of bugs encountered |
|---|
|
Template:Main Quest Skyrim